Your Event Pass is a unique code that allows you to quickly check-in to events happening on campus. If you’re attending an event that requires a pass, learn how to pull up your Event Pass. If you’re hosting an event, continue reading to find out how you can use the Campus Labs® Event Check-in App to track attendance.
Perks of using Event Check-in for you campus events:
- No extra equipment! Students and faculty/staff can use their phone(s).
- Data automatically uploads into the CubConnect system in real time. (There is no waiting to upload data from a scanner.)
- Students can easily access their Event Pass or print out a copy to keep with them!
- You can have as many people helping with check-in as you’d like! Multiple people can be scanning students in with their own phones.
Important: To find the event code for the event check-in app, you must have “Full Access” to Events on the page on which the event is hosted. Learn how to give page access here.
Finding Your Event Code
To use the event check-in app to track attendance at your event, you will need to locate the event’s unique “Event Code.”
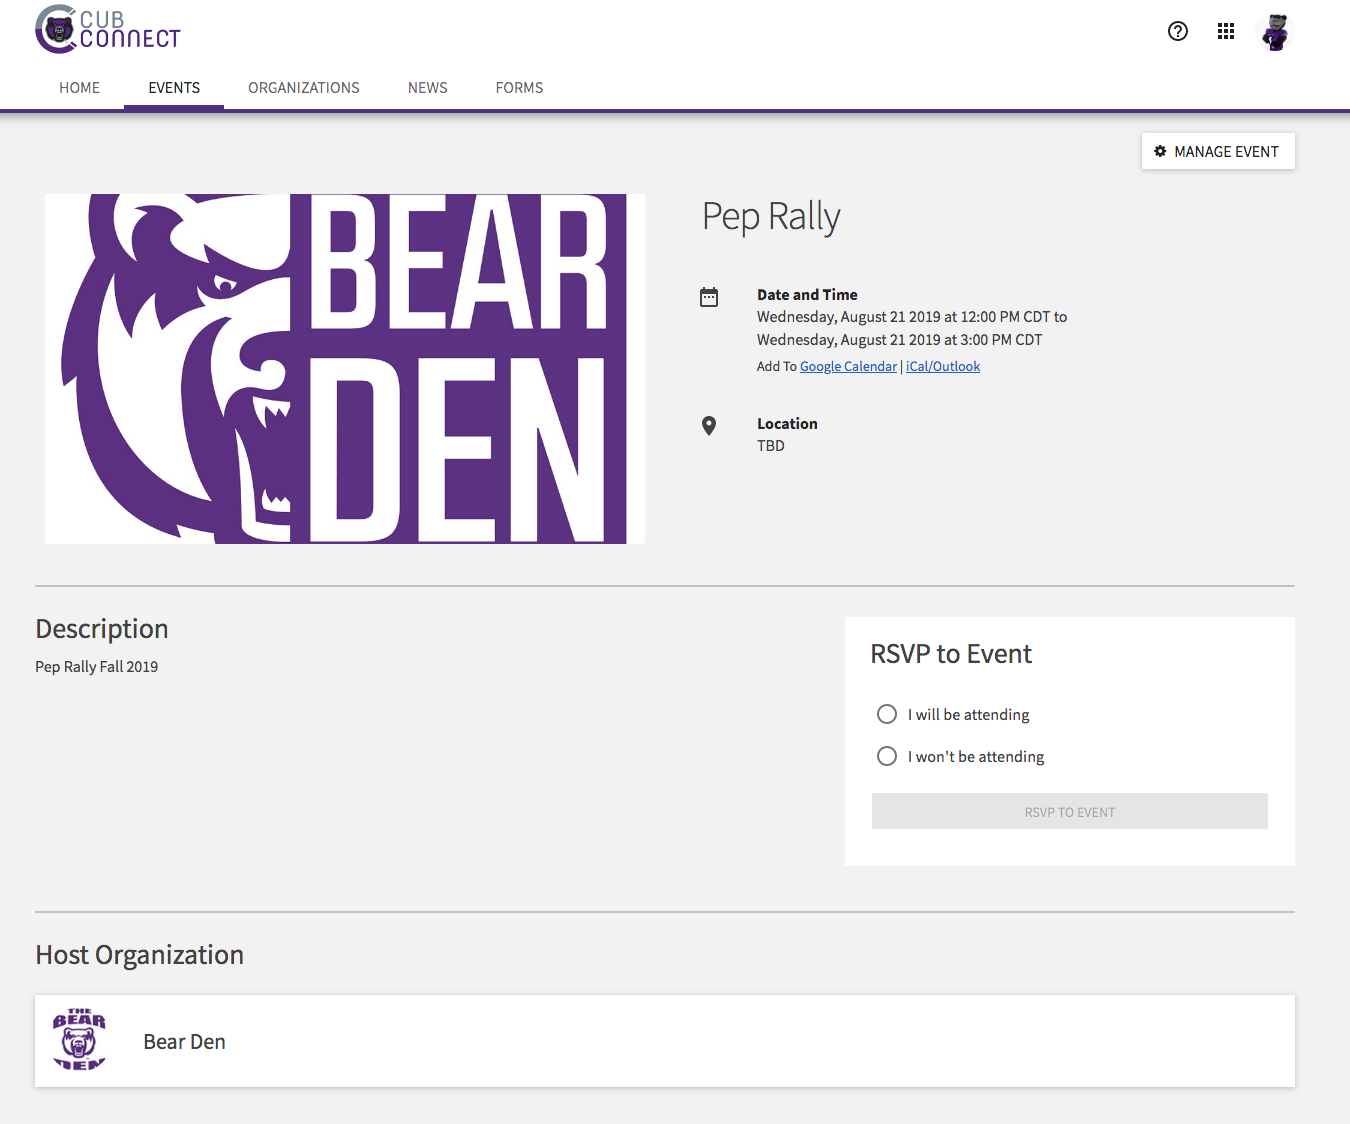
- Step 1: Go to the event that you would like to track attendance for on CubConnect. Click “Manage Event” on the top right corner.
- Step 2: For all event attendance information, click on the blue “Track Attendance” button.
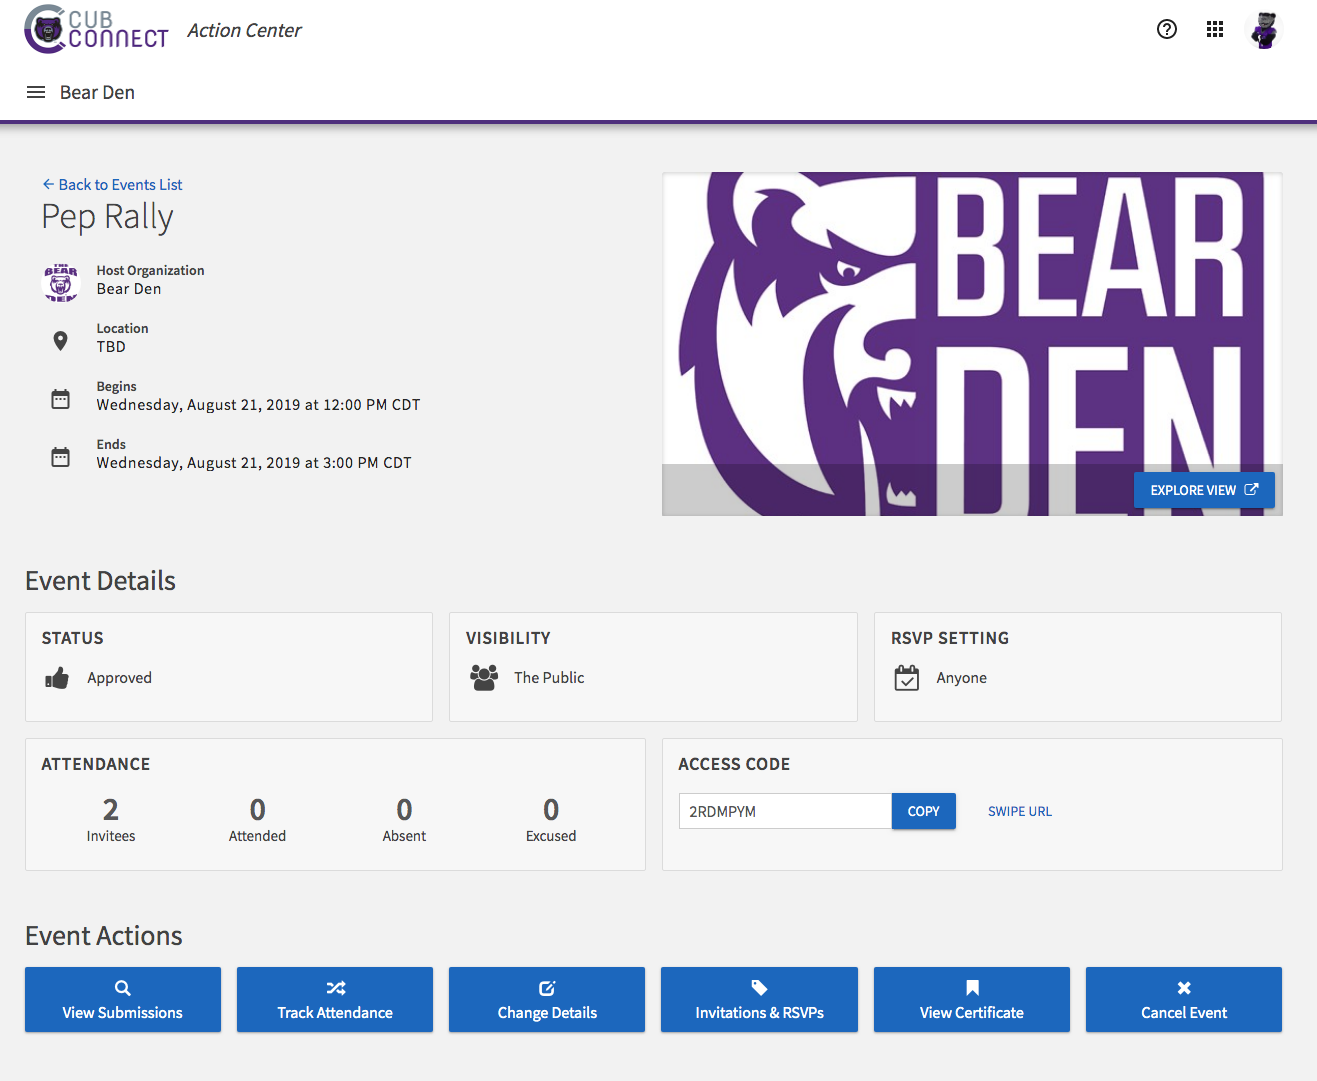
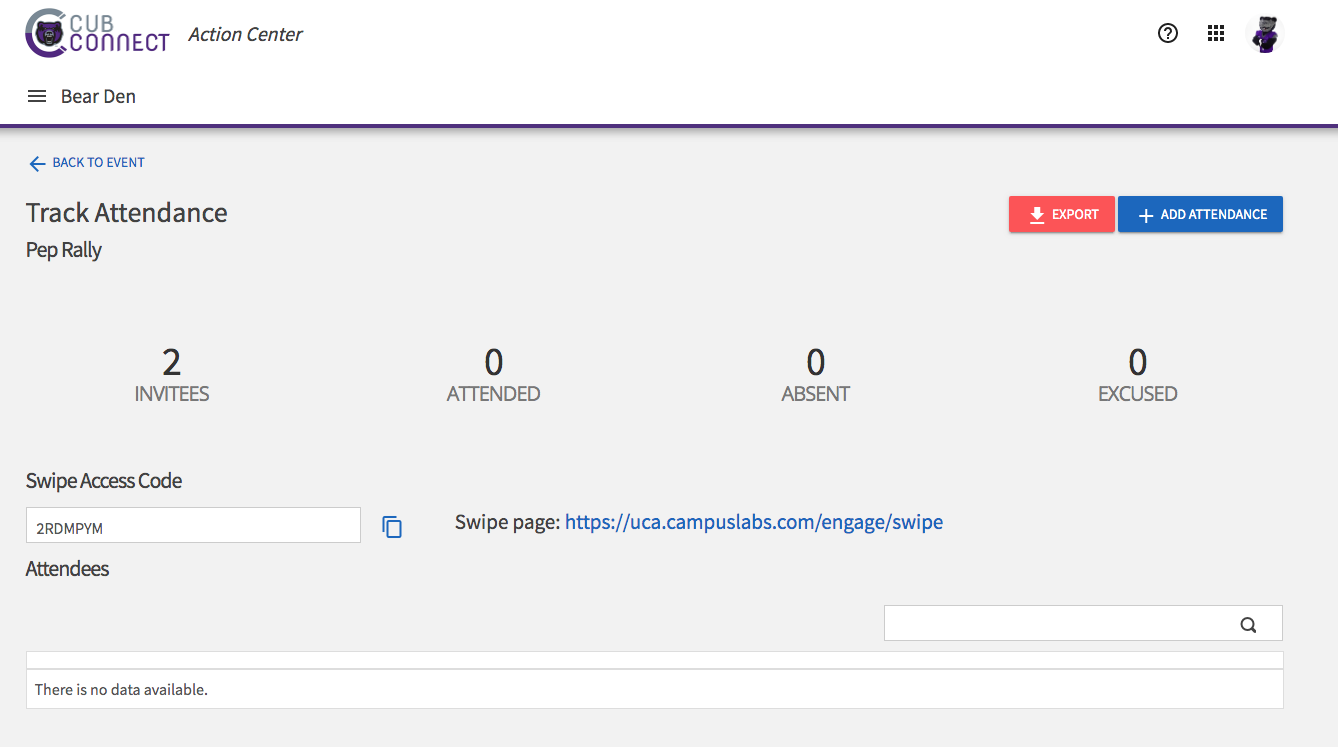
- Step 3: Find the “Swipe Access Code” on the left side of the page. This is the same as the Event Code.
- Step 4: Use this Swipe Access Code/Event Code with the check-in app. This code does not change and is unique to a particular event. If you have multiple people using the app to help with check-in at one event, you may give this same code to all of them to use at the same time.
Using the Event Check-in App

Available on Apple Store and Google Play by searching “Campus Labs Event Check-In”
- Step 1: Enter your unique Event Code*.
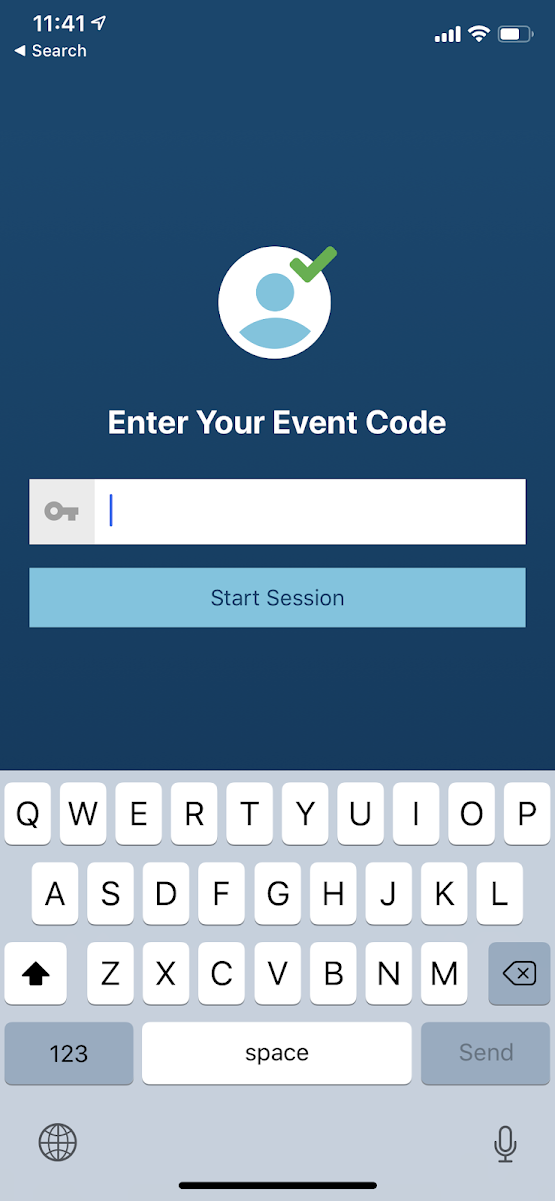
*Steps to access your Event Code above!
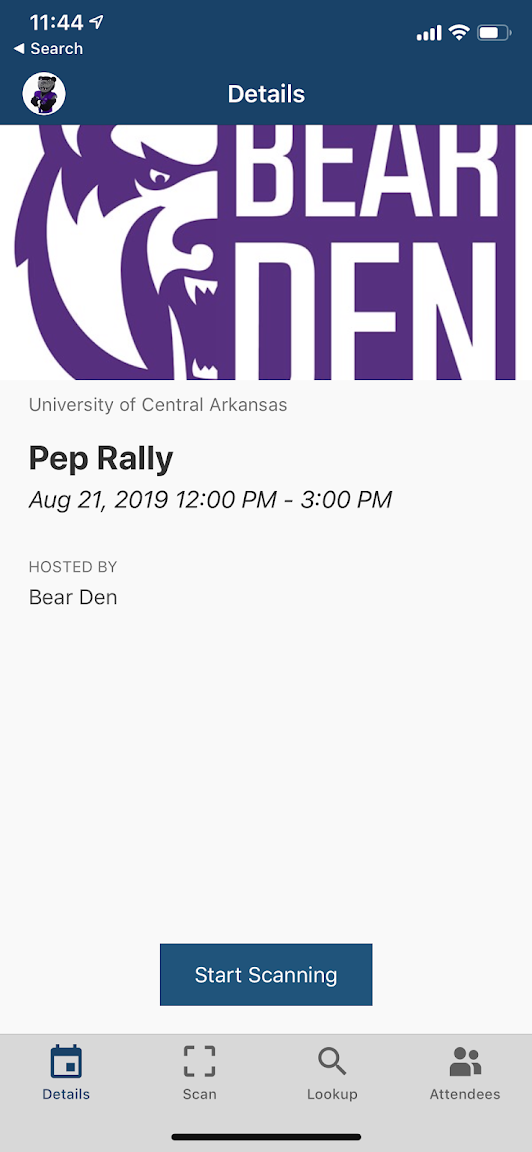
- Step 2: Check to make sure the correct event pulls up on the app. Click “Start Scanning.”
- Step 3: Hover over an Event Pass until the frame turns green.
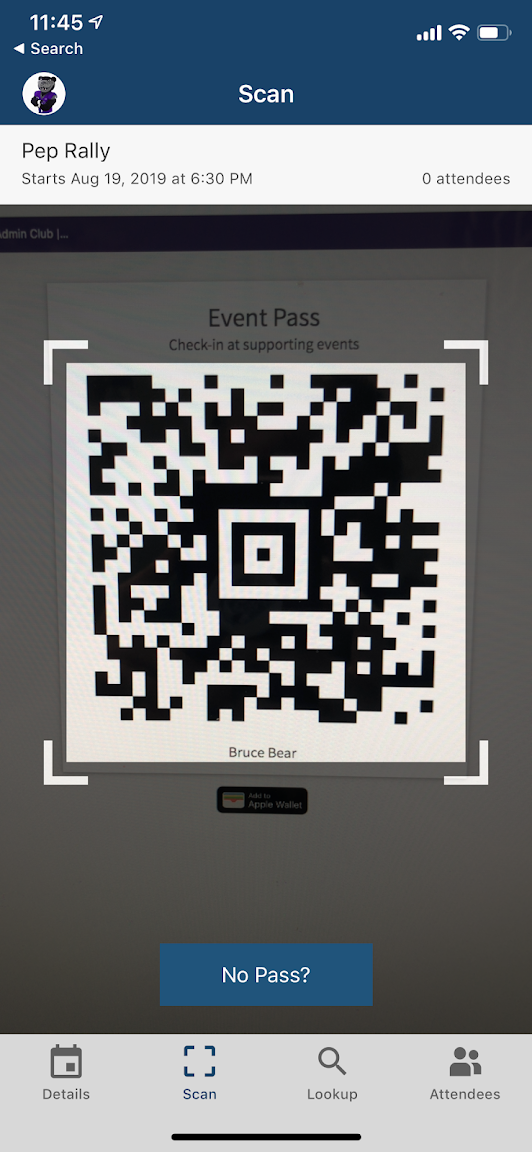
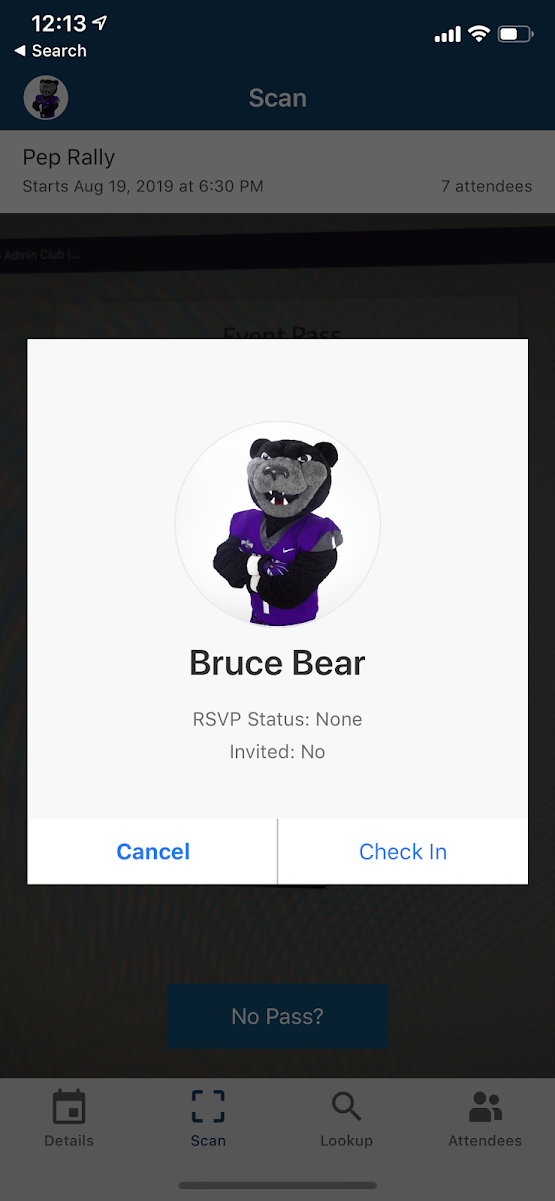
- Step 4: The attendee’s name will pop up. Click “Check in.”
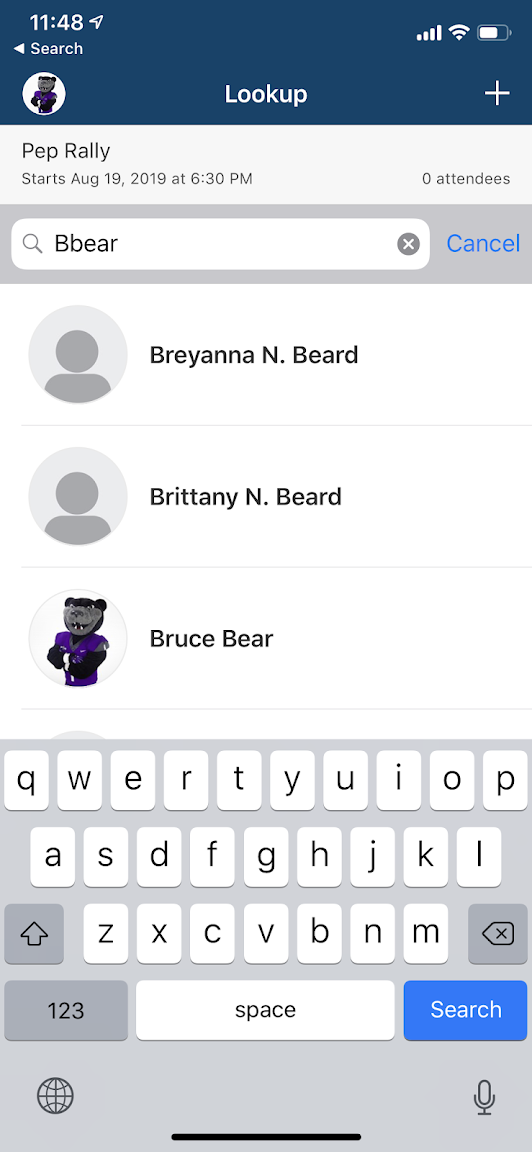
- If a student does not have their Event Pass:
- Click “No Pass?”
- Search for them by name or UCA email.
- Click on their name to add them to attendee list.

Viewing Attendees on Check-in App
- Step 1: Click on “Attendees” button on the bottom right corner.
- Step 2: View list of everyone who has checked in to event.

Viewing and Exporting Attendees on CubConnect
- Step 1: Go to the event that you would like to view attendance for on CubConnect. Click “Manage Event” on the top right corner.
- Step 2: For all event attendance information, click on the blue “Track Attendance” button.
- Step 3: See attendees on this page. Please note that there may be multiple pages of attendees. Export this information to an Excel document by clicking the red “Export” button on the top right.
