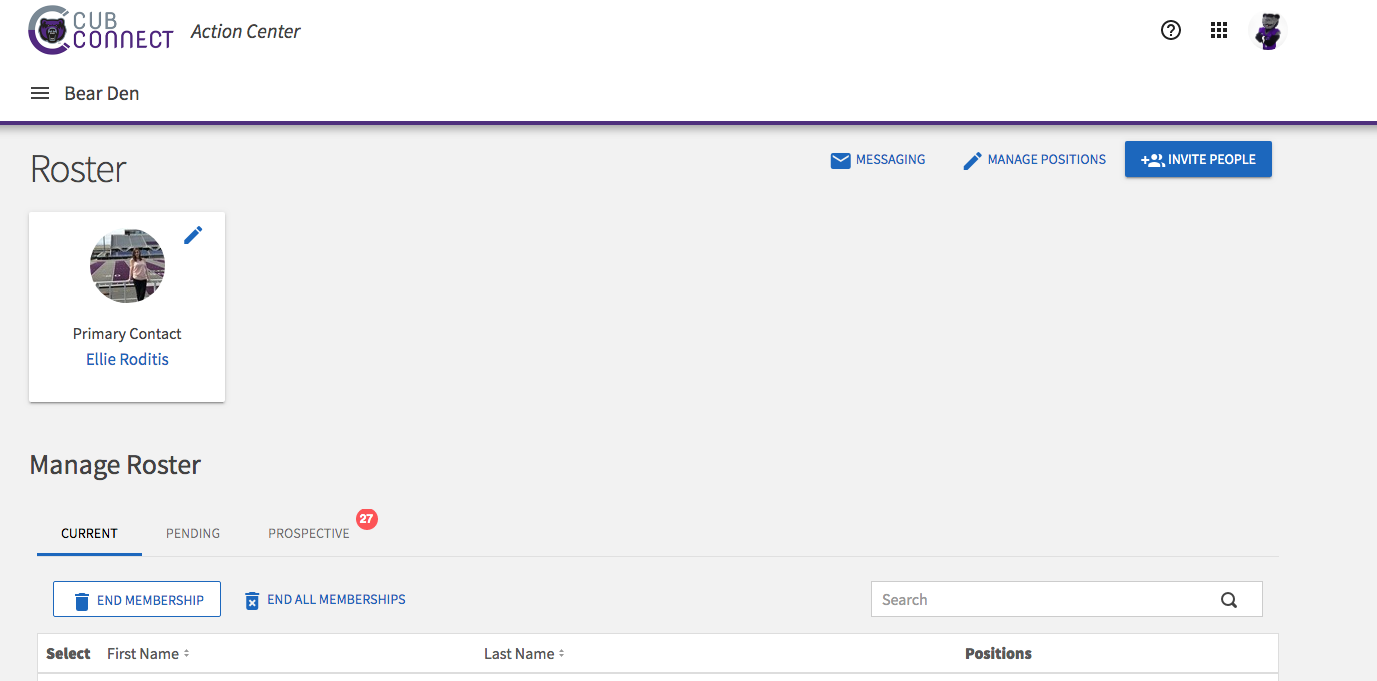
From your CubConnect home page, open the left menu bar, click on the settings wheel over/next to your organization, and choose “Roster” from the pop-up menu.

Inviting New Members
- Step 1: Select the blue “Invite People” button in the top right of the page

-
-
- Step 2: Enter the emails of members you wish to add and click the blue “Send Invitations” to submit additions
-

Removing current members
- Step 1: Select the box next to the name of the member(s) you wish to remove from your current roster, and click the “End Membership” button directly above the list of names to remove member(s).

Changing Member Status
- Step 1: Select the drop down button next to the members name indicated by an image of a pencil and select the appropriate box for the role you want to assign to the member.

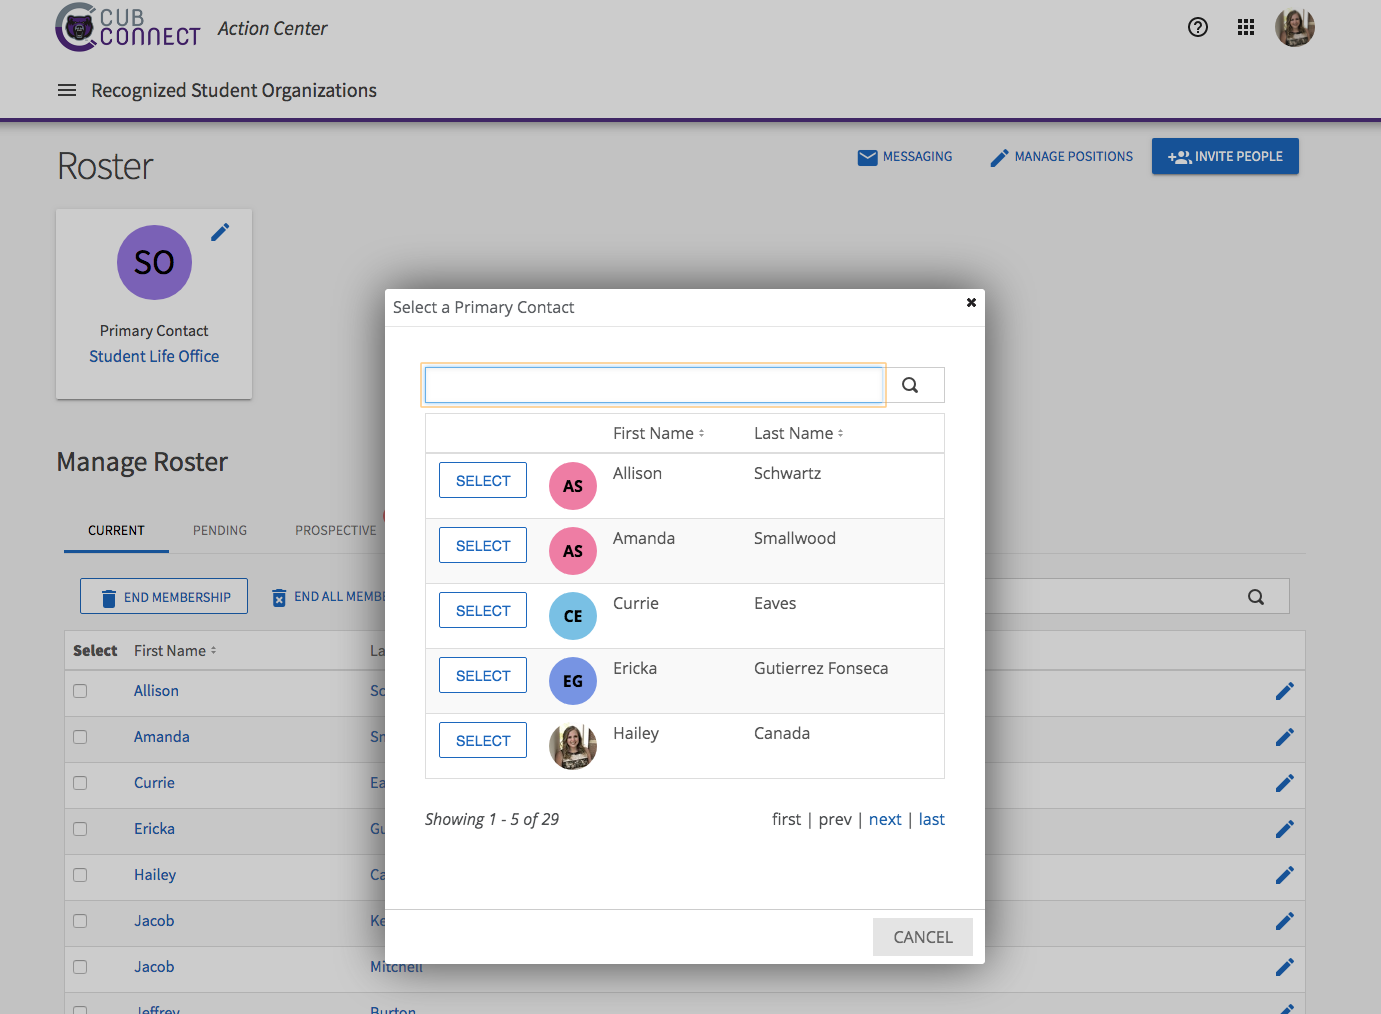
Changing Primary Contact
For RSOs, the default Primary Contact will be the person who renews the page. You may change this after your renewal has been approved.
- Step 1: Click on the blue pencil next to the current Primary Contact’s image.

Step 2: A box will appear with every member of your page. Click “Select” next to the name of the new Primary Contact.
This person must already be a member of your page to make them Primary Contact. See instructions above to invite them if they are not a current member.
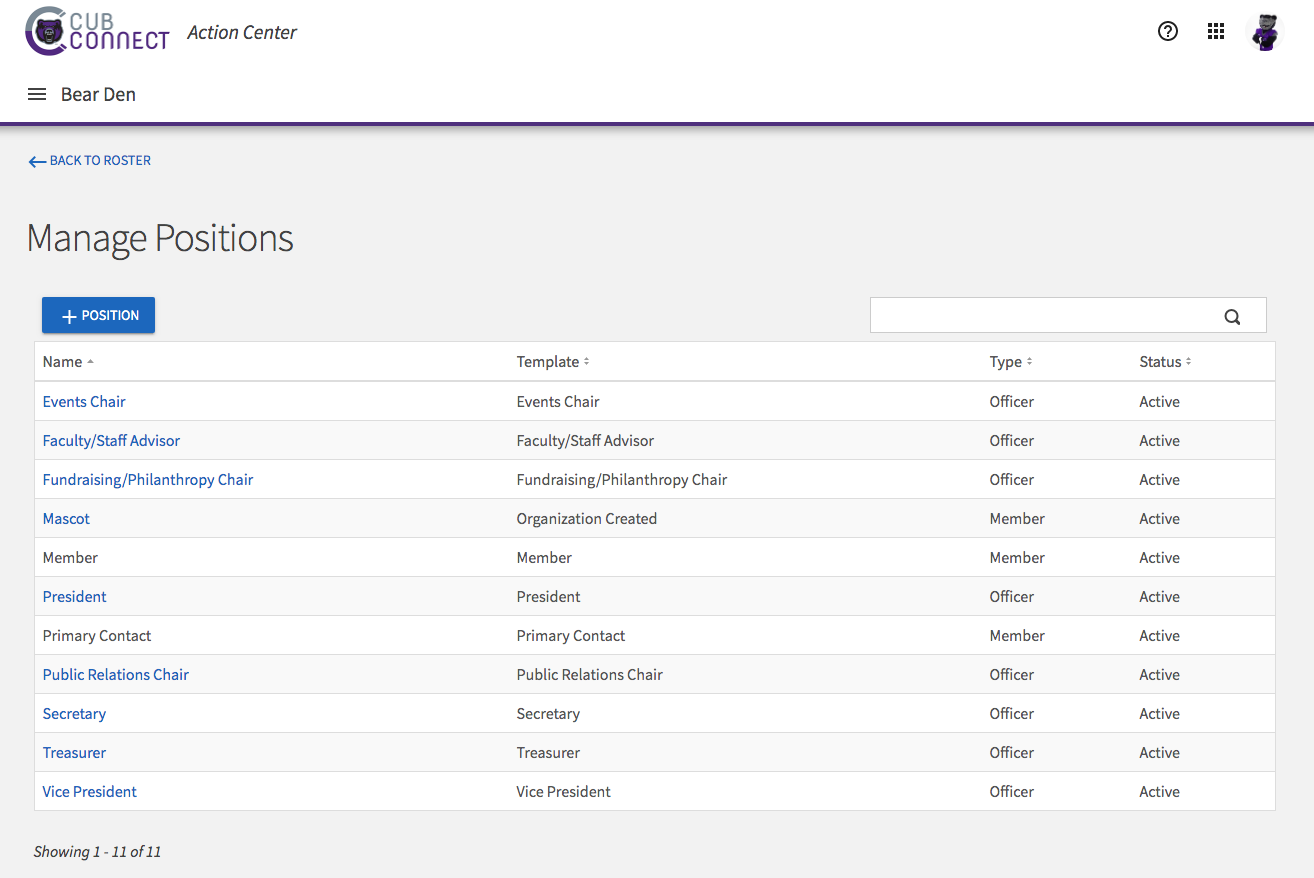
Creating New Positions & Giving Specific Access
You may want to create specific positions for students/faculty/staff members that only need certain permissions or that do not fit within the predetermined positions provided on CubConnect.
- Step 1: Click on “Manage Positions” on the top right of the page.
- Step 2: Click on the blue “+ Position” (add position) on the top left of the page.
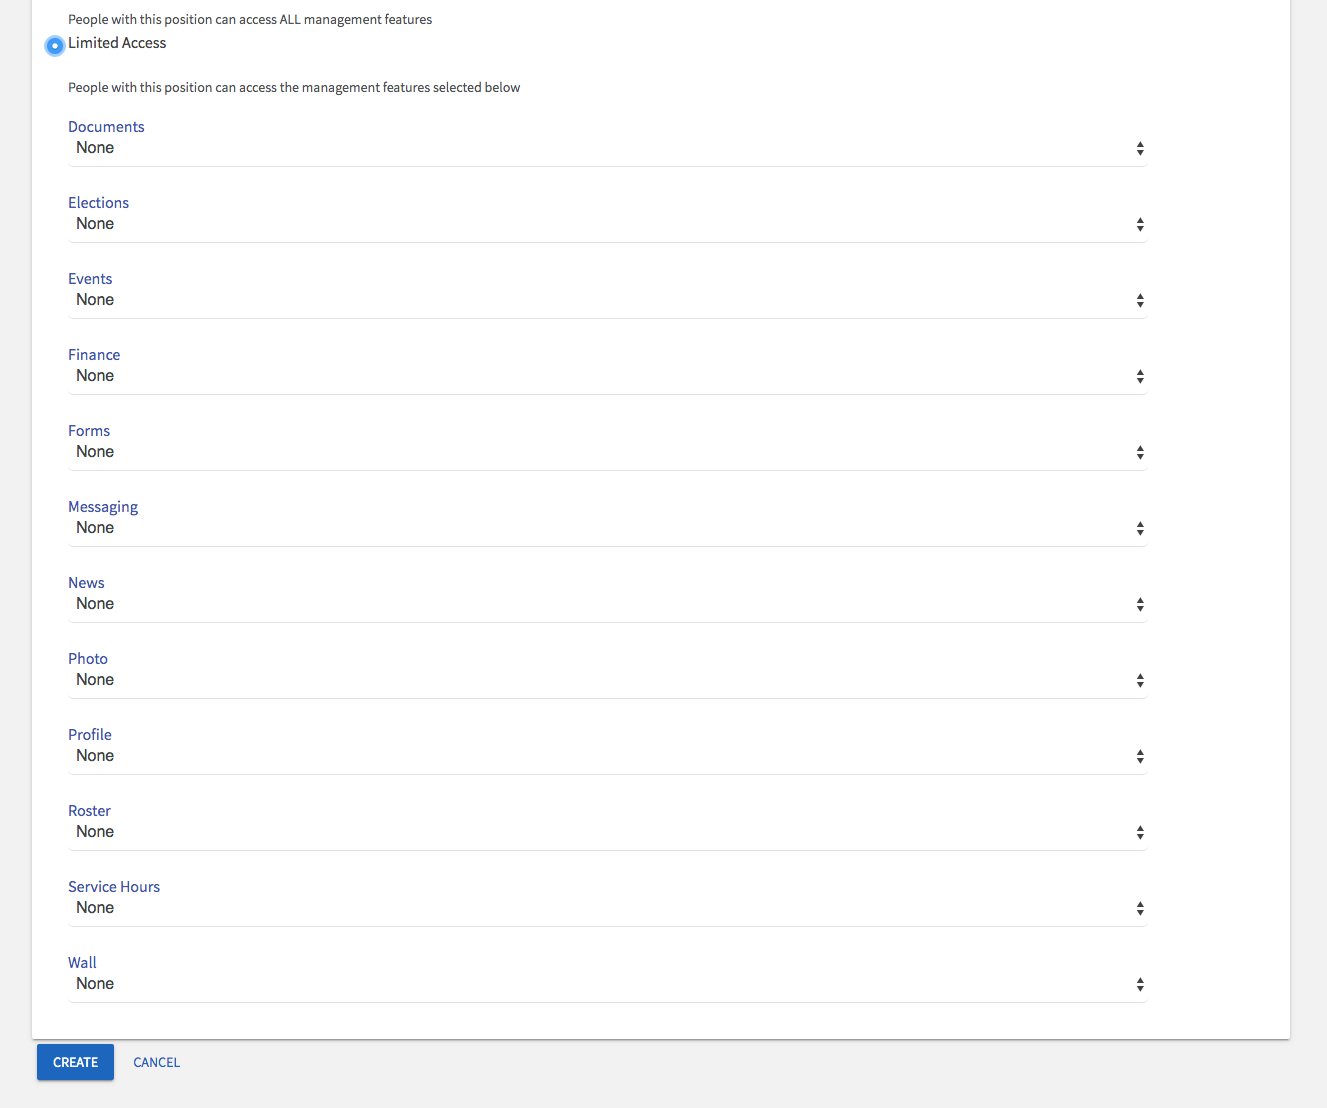
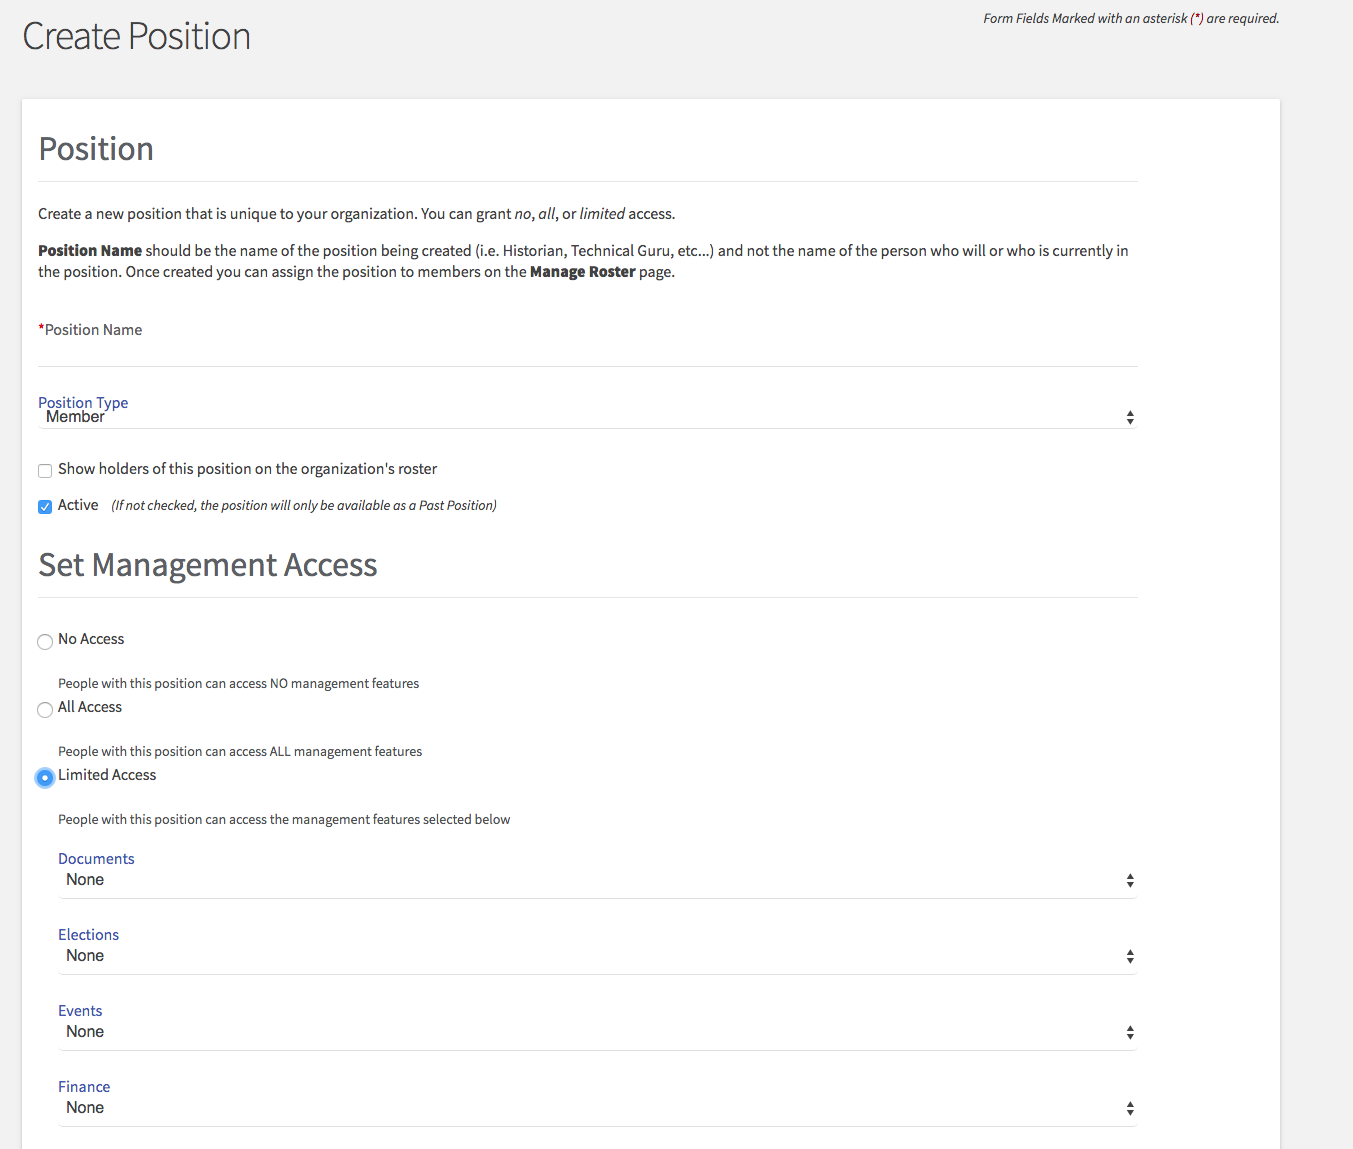
- Step 3: Create a position name and select whether this position should have “all access” or “limited access.”
- If you select, “all access,” the person/people who hold this position will have access to every tool on the page and can edit all information.
- If you select “limited access,” you can decide which tools in the page the person/people have access to. Example: If you only want them to be able to use the Event Check-in App, you can give them Full Access to Events.
- Step 4: Click the blue “Create” button at the bottom of the page. You may create as many positions as you deem necessary for your page.