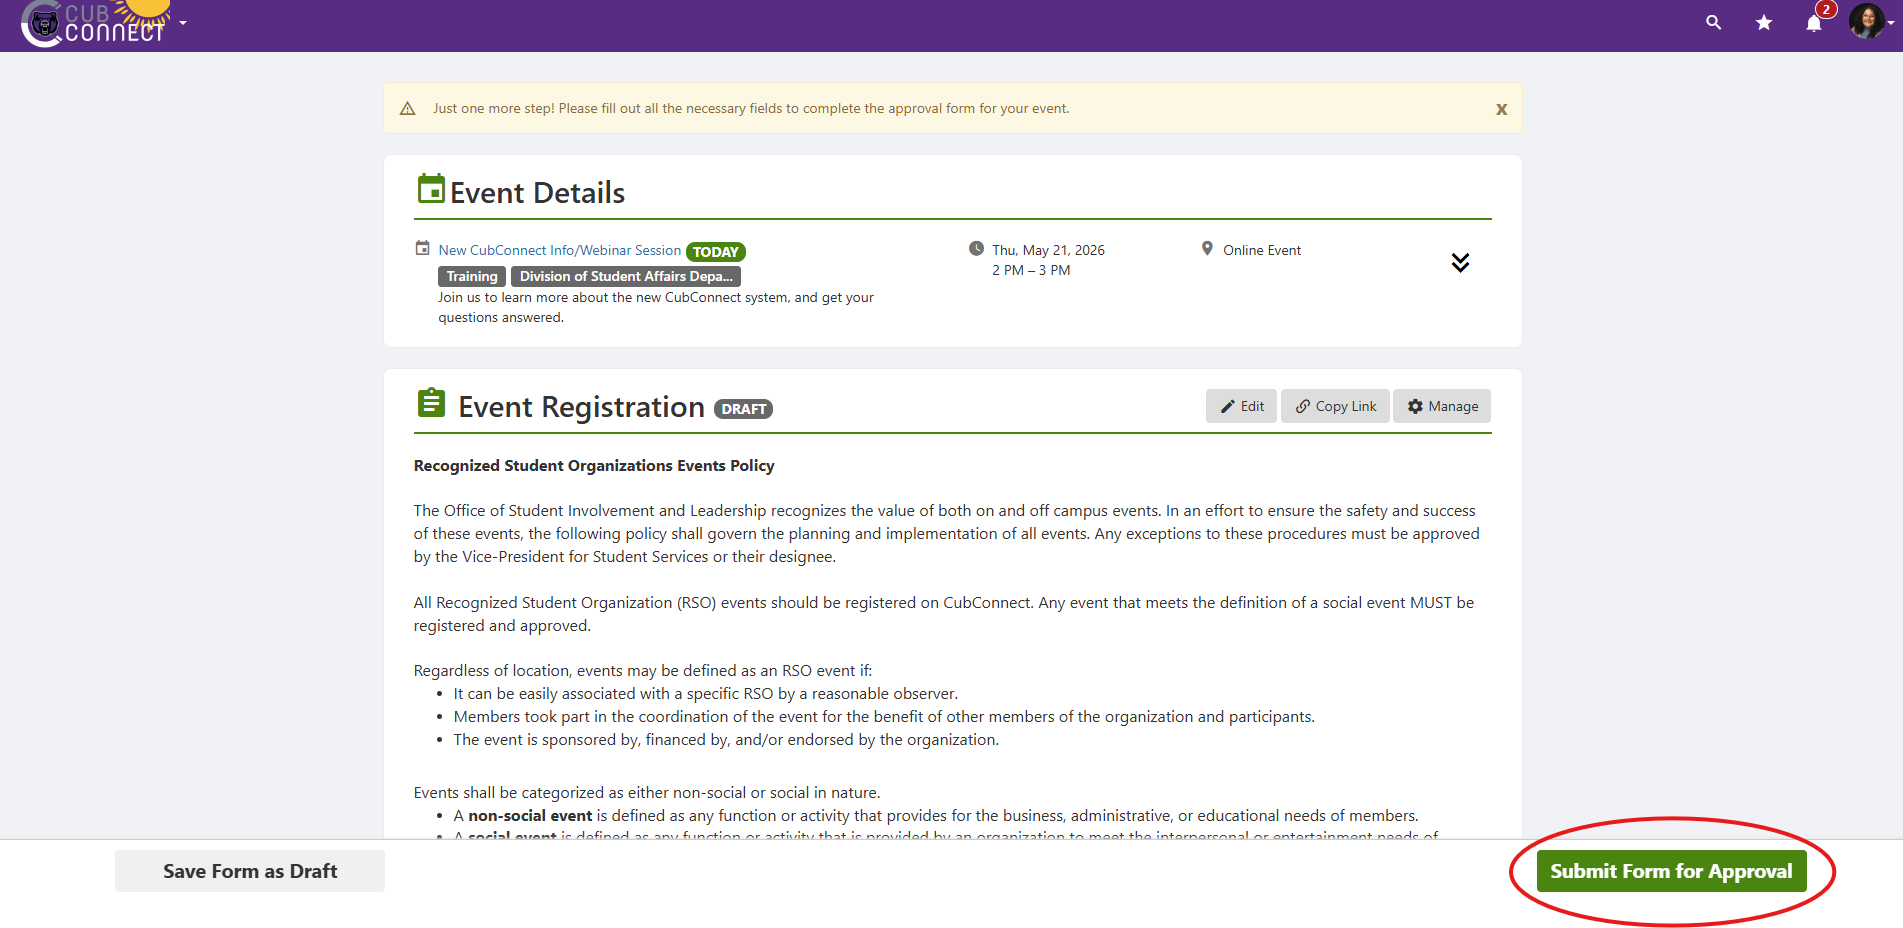
All RSOs at the University of Central Arkansas are encouraged to register their events and meetings with Student Involvement & Leadership on CubConnect. Please note that these registrations must be received no later than two weeks before the event/activity/meeting takes place. If you need to edit an event, whether it’s still pending or has already been approved, instructions are at the bottom of the page.
Submitting a New Event
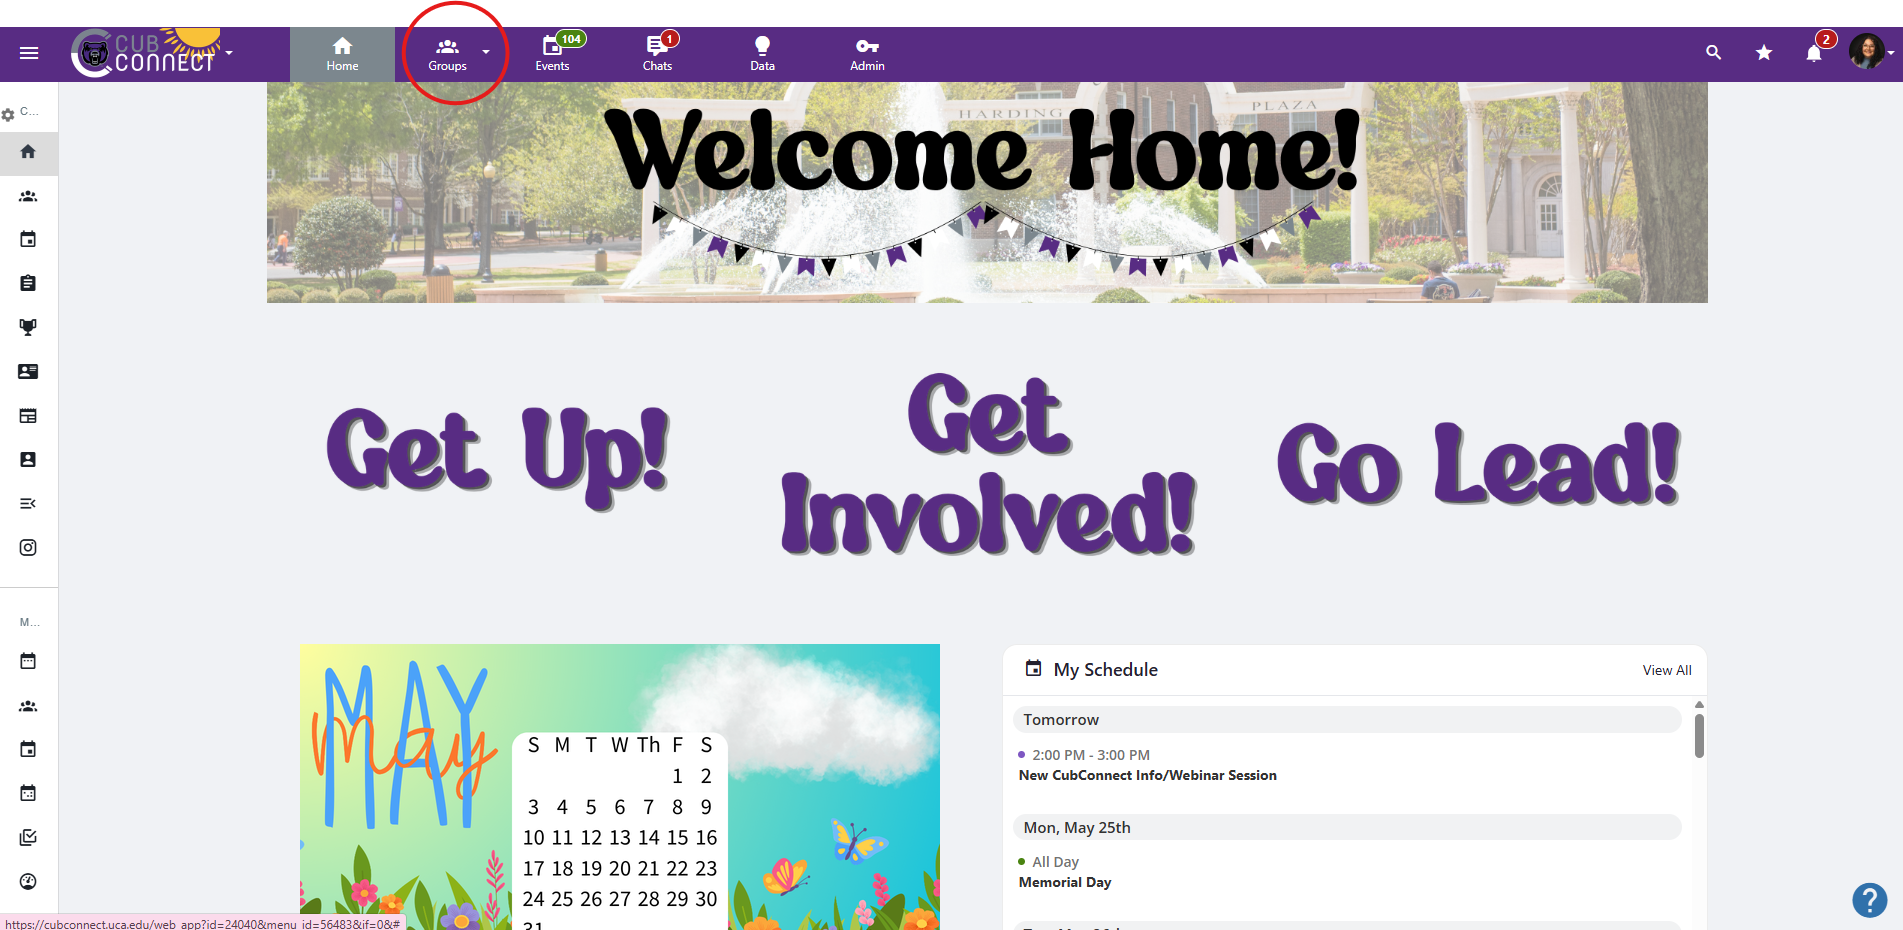
Step 1: Open the Groups menu at the top of the homepage and click on your organization from the drop-down menu.
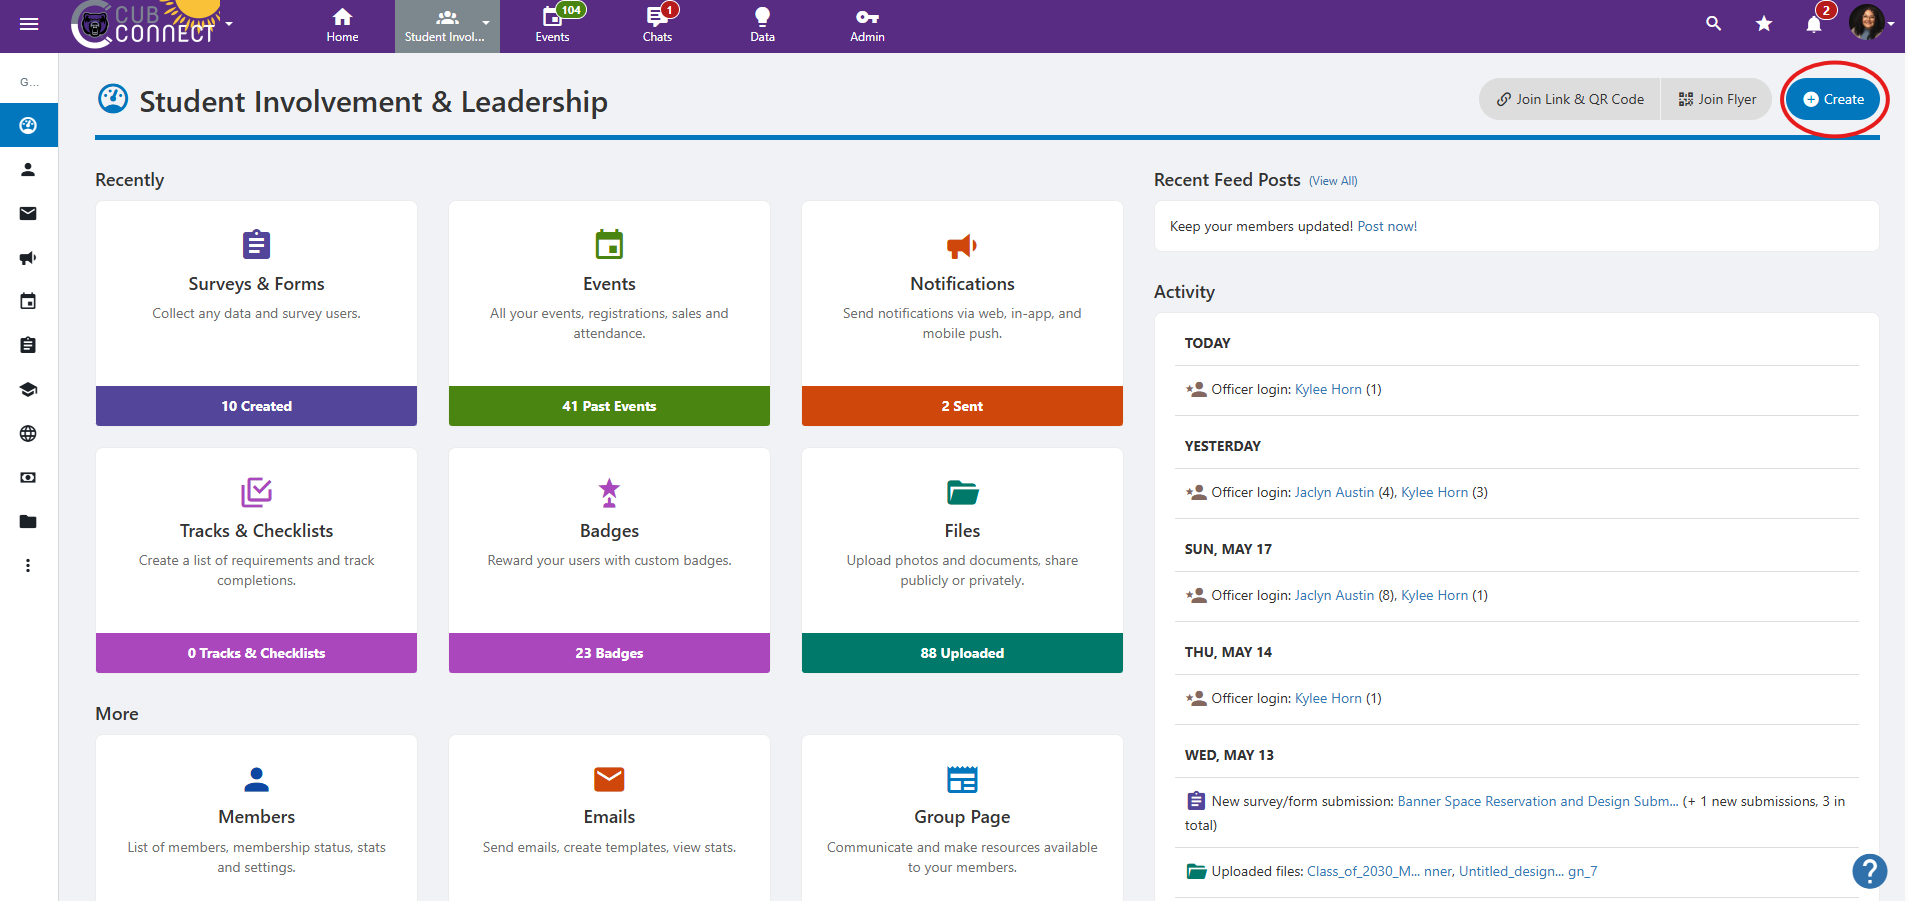
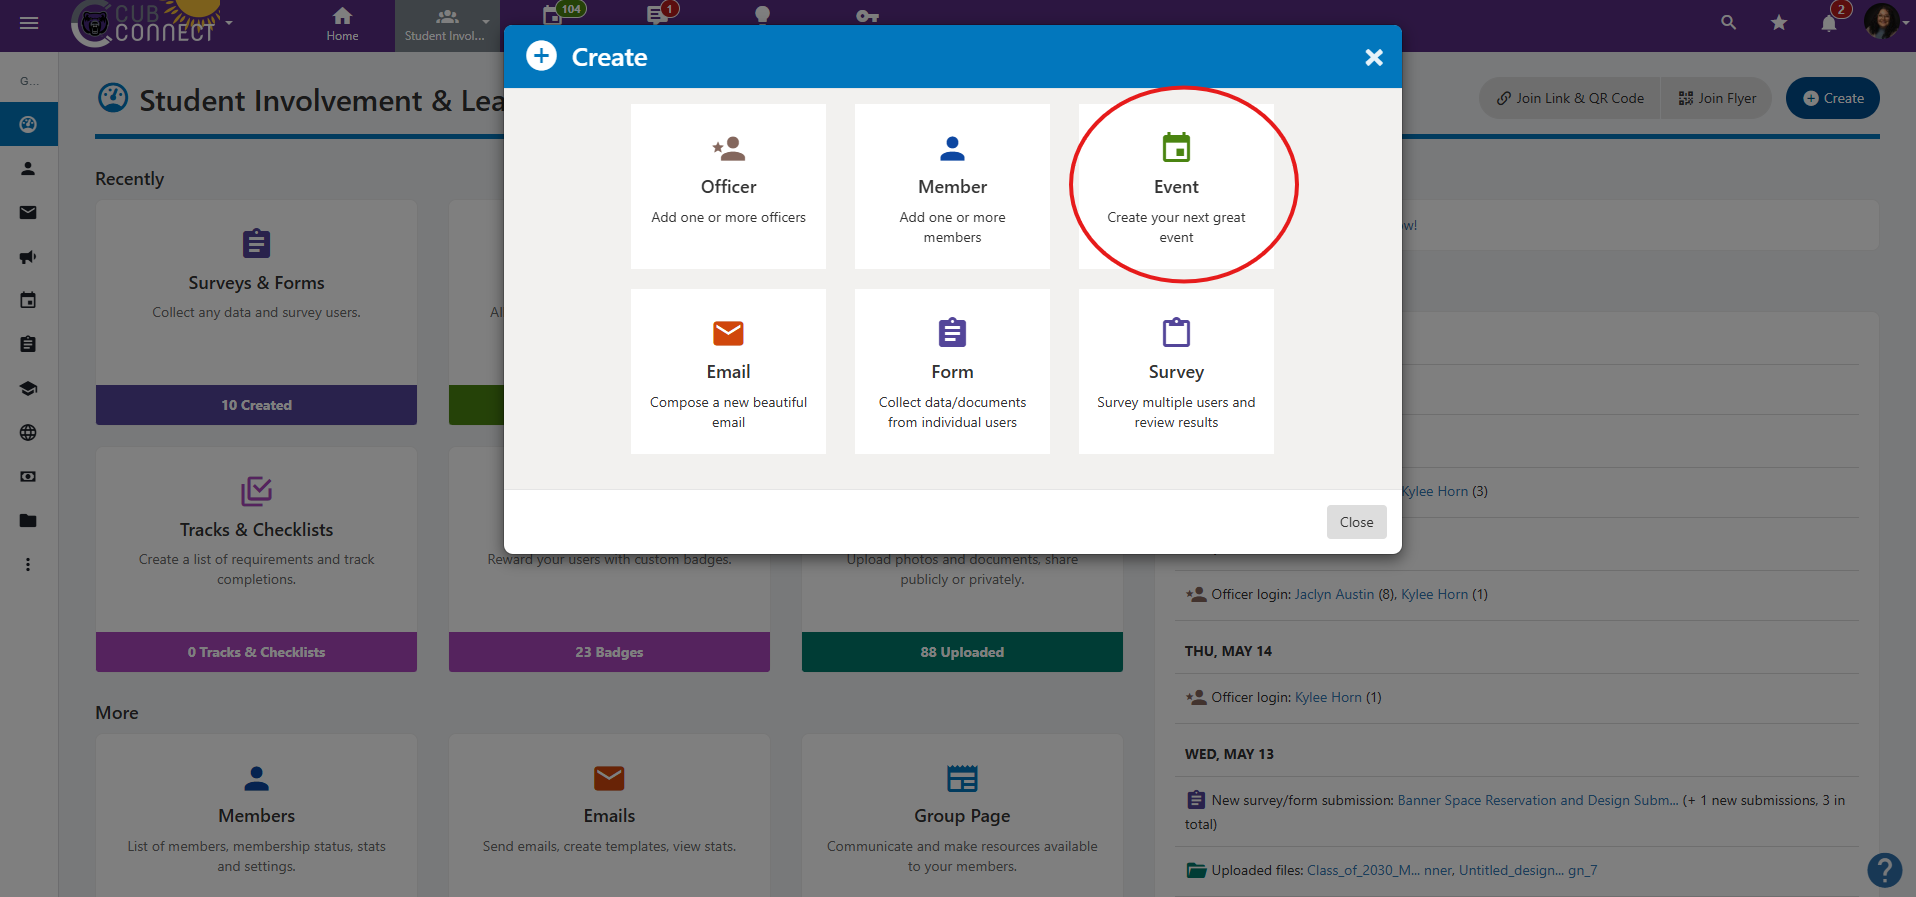
Step 2: Click the blue “Create Event” button on the top right and then select Event.
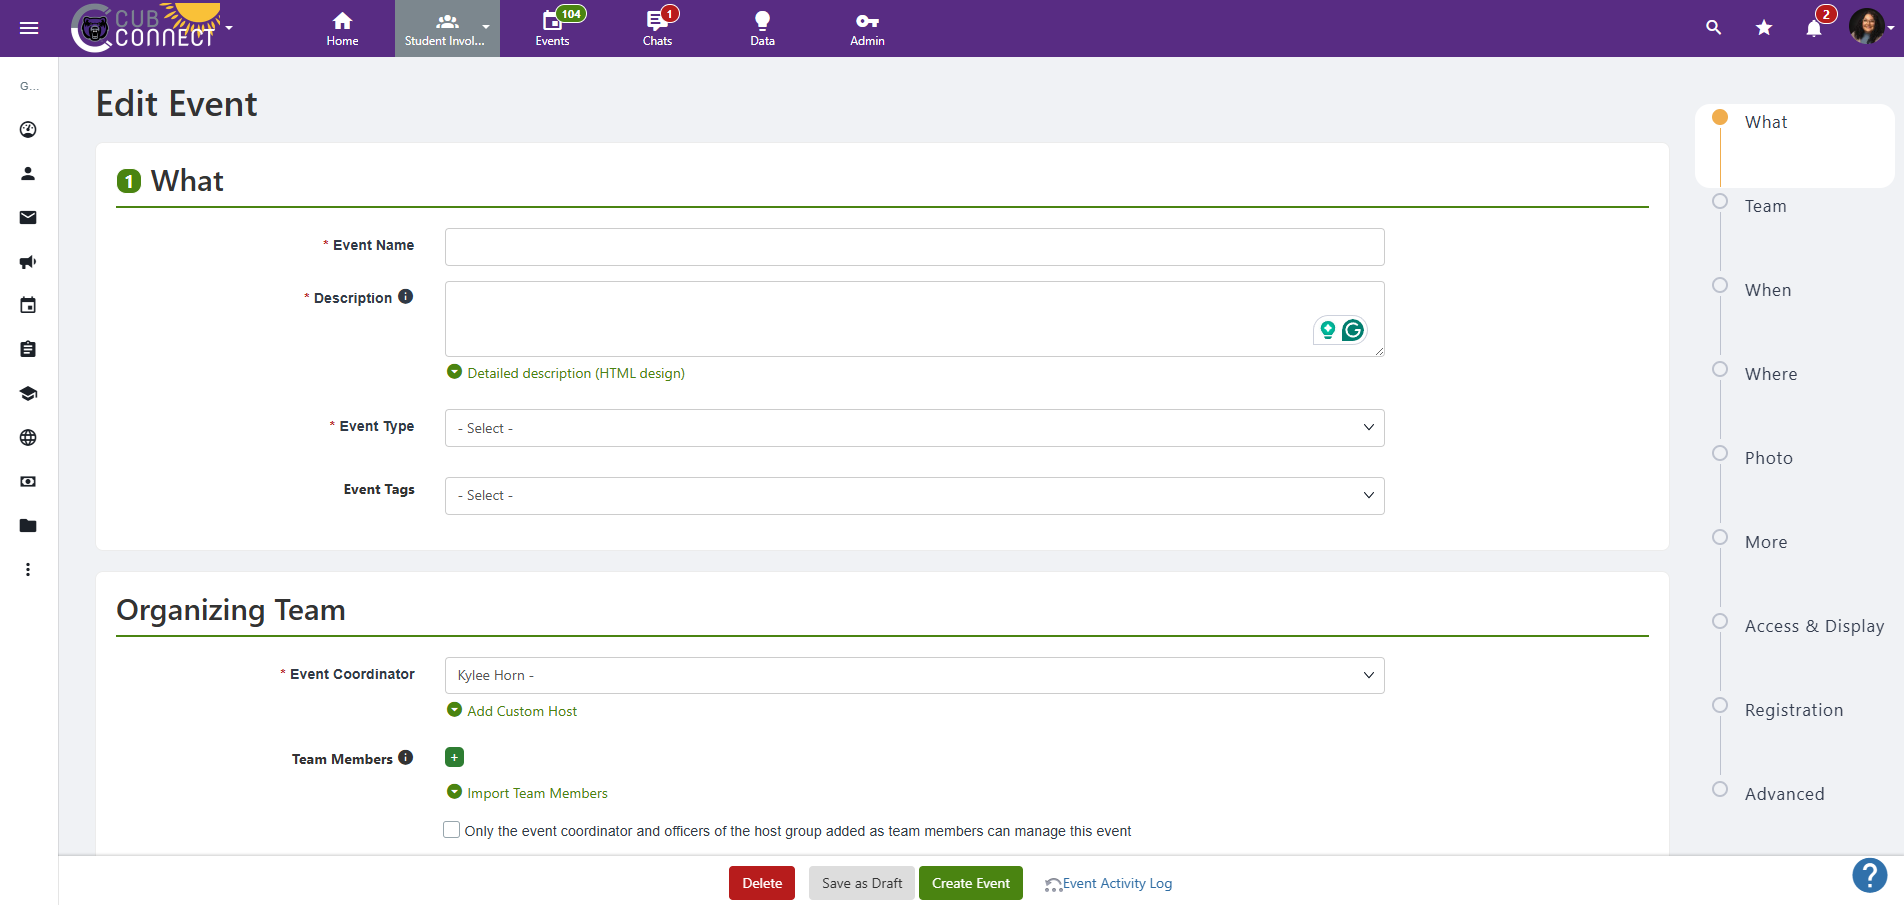
Step 3: Fill out the general event information on the first page.
- Select your organizing team with an event coordinator, and you can add team members. You can also choose if only the event coordinator and team members can manage the event.
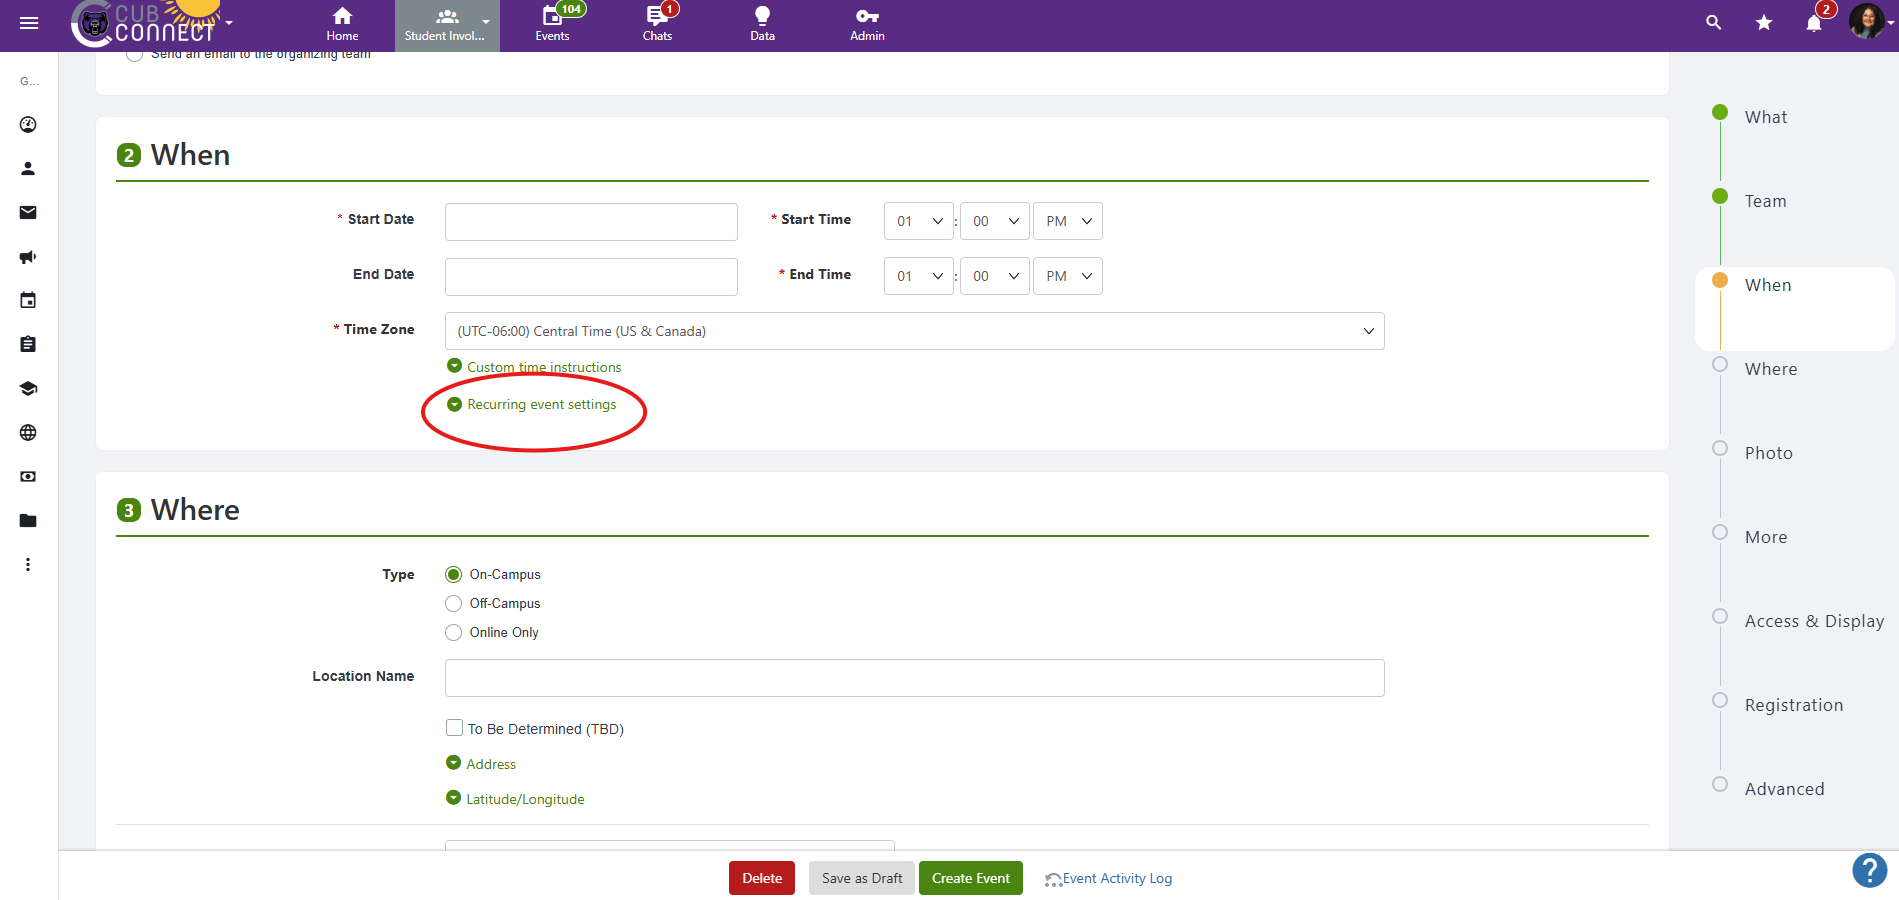
- To create a repeating event, you can do so by selecting “Recurring Event Settings,” but you must make sure the information is correct, or else you will have to go through and edit each event on the calendar that you add.
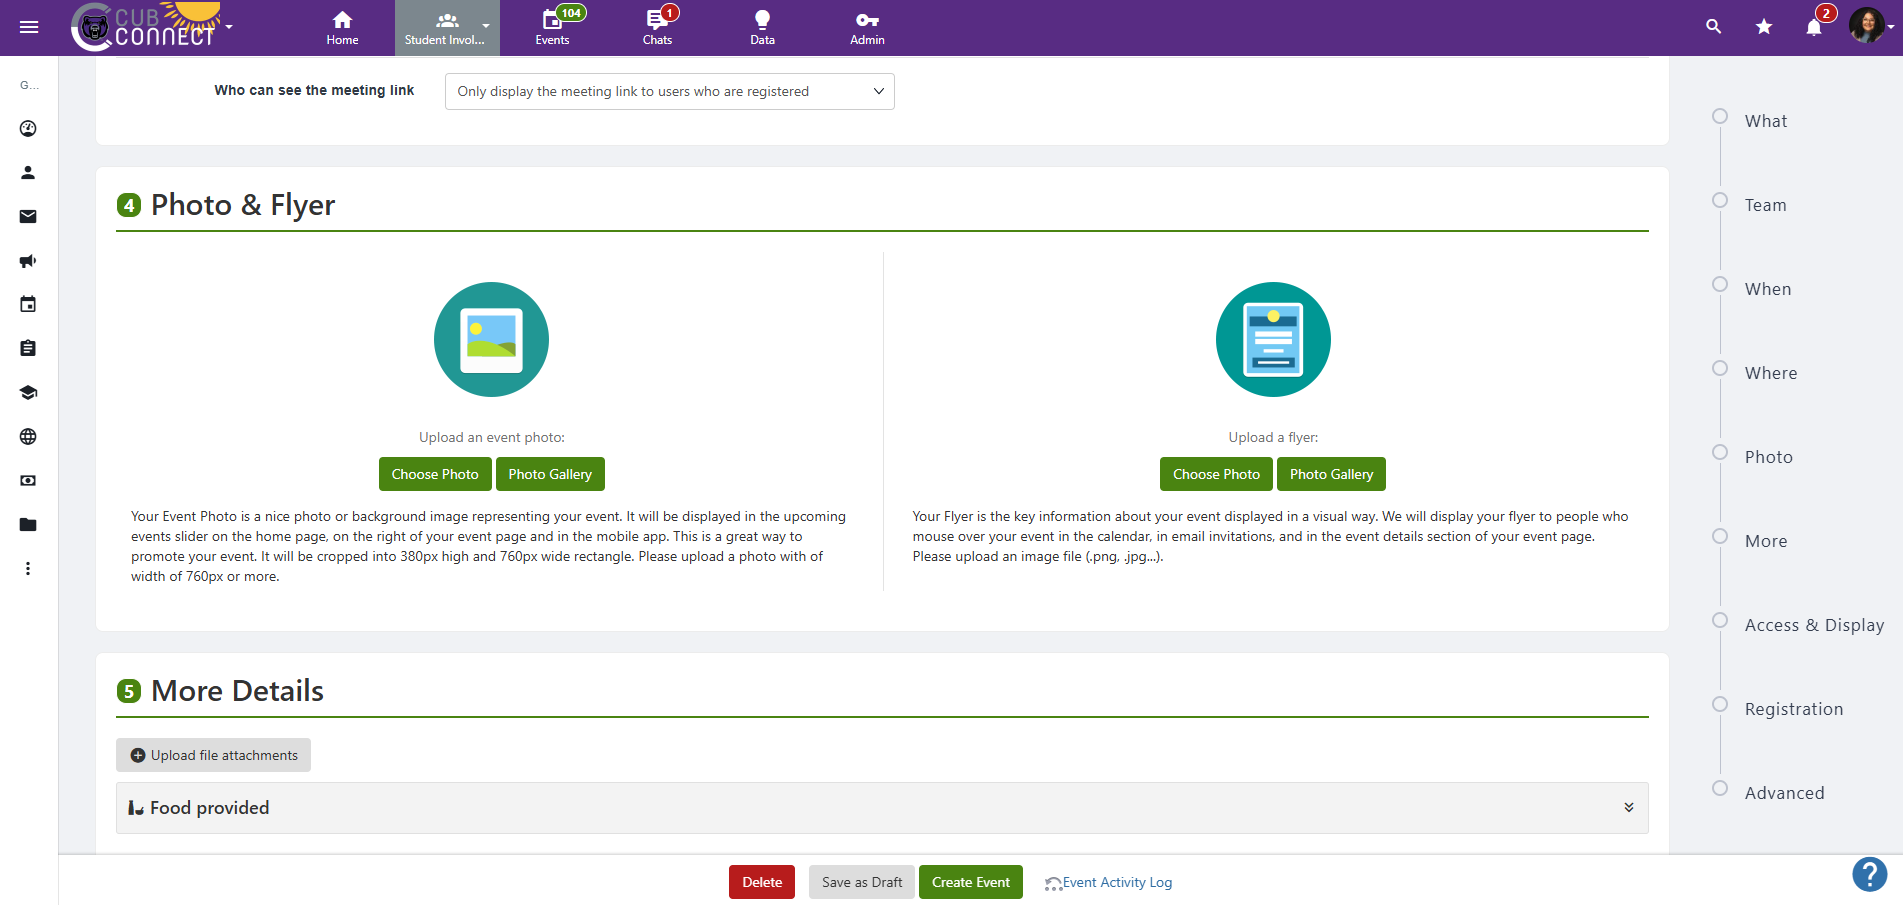
- You can add an event photo and flyer. This is optional but highly encouraged, since it makes the event more attractive to potential attendees.
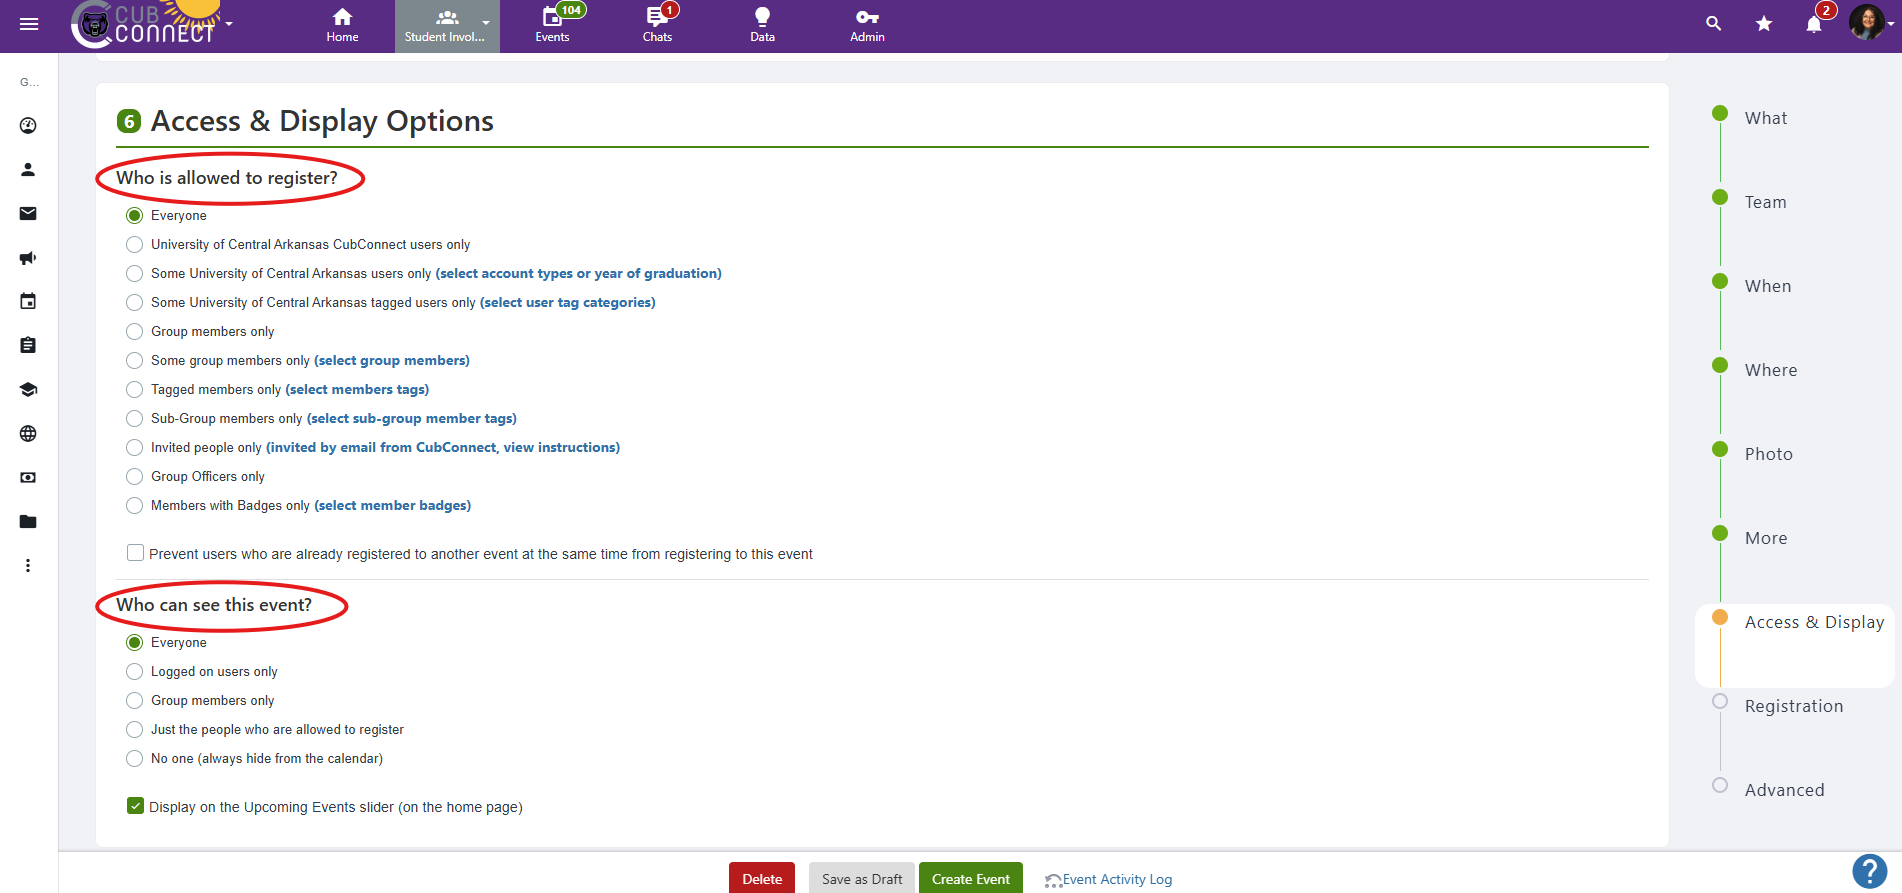
- You can select who the event is visible to and who is allowed to register to the event under Access and Display Options
- You can advertise available “perks” for prospective attendees by using the appropriate drop-down menu.

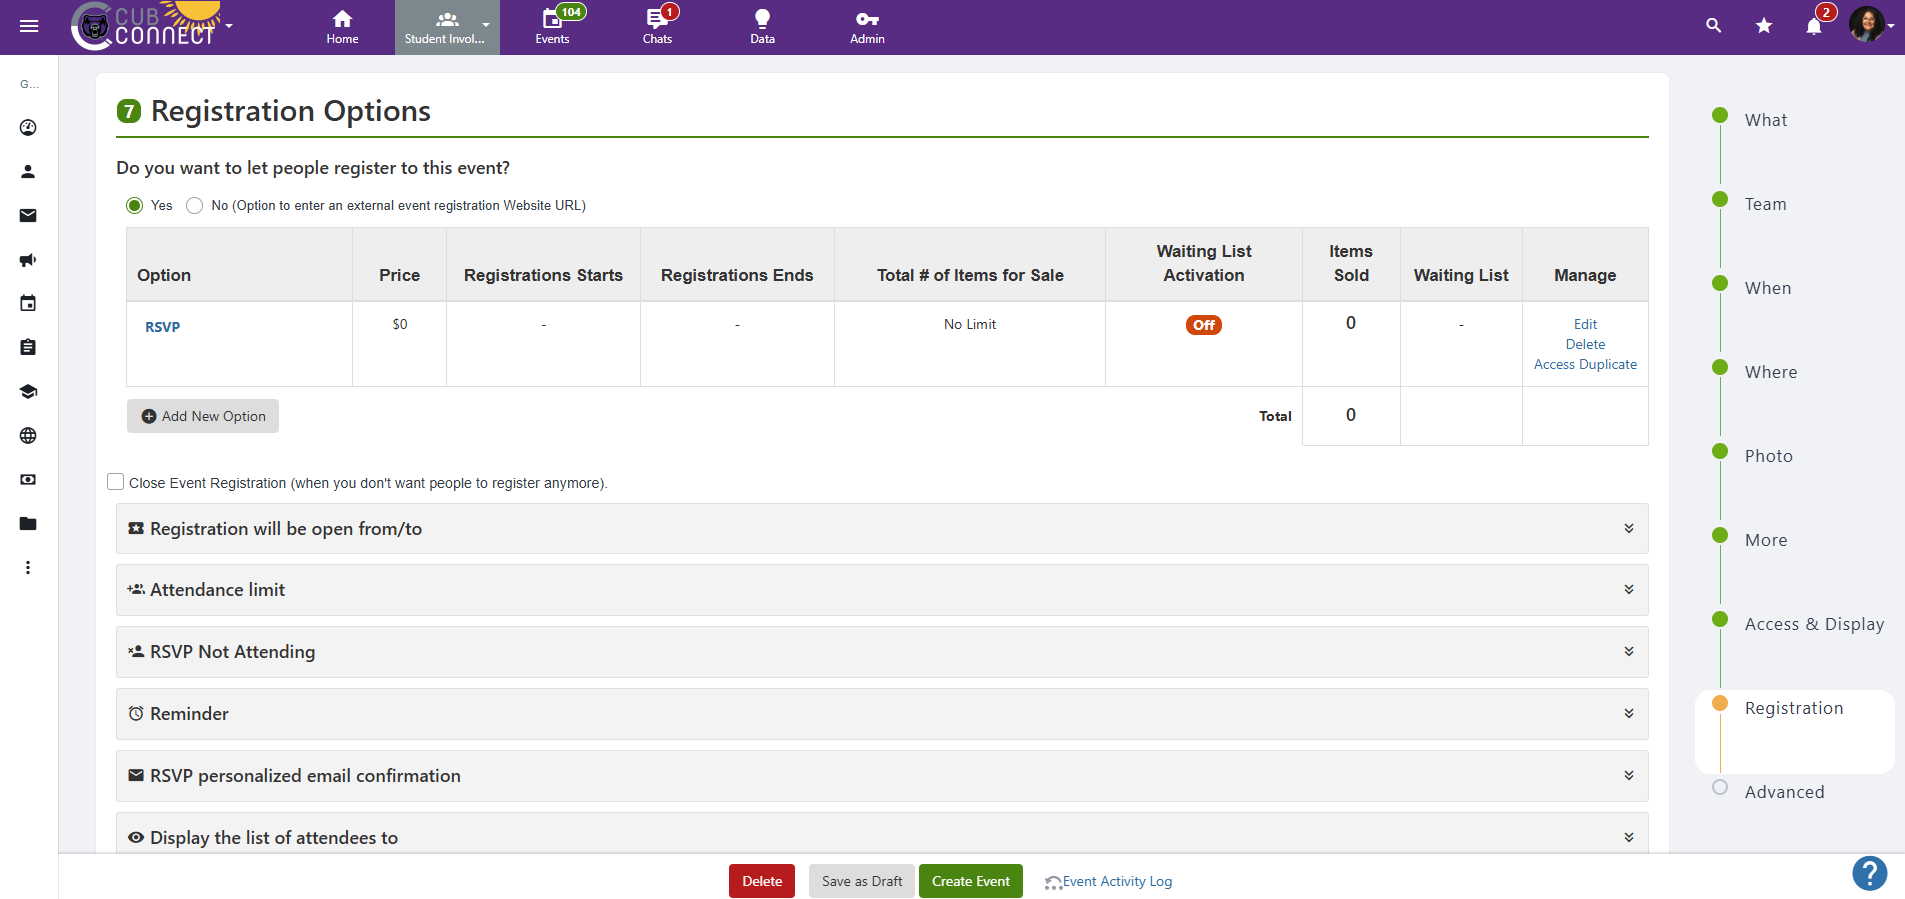
Step 4: Configure Registration Options. (optional)
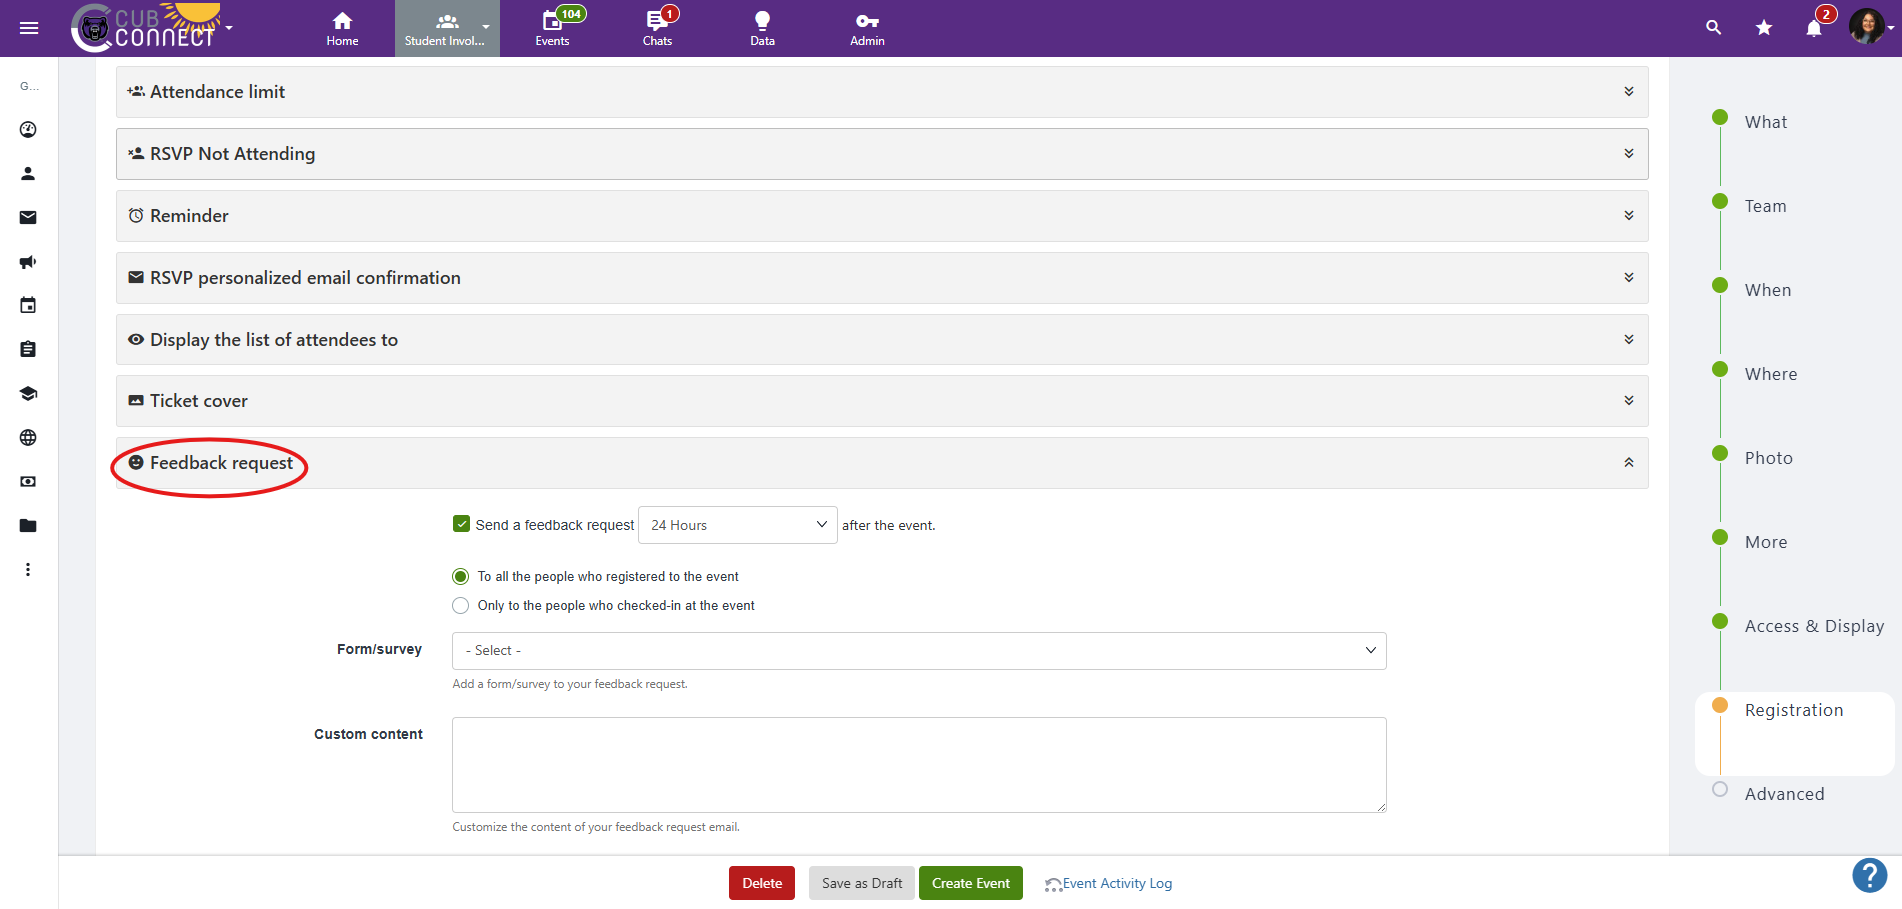
- You can configure and enable a Post Event Feedback Request. (optional)
Step 5: Advanced Options. (optional)
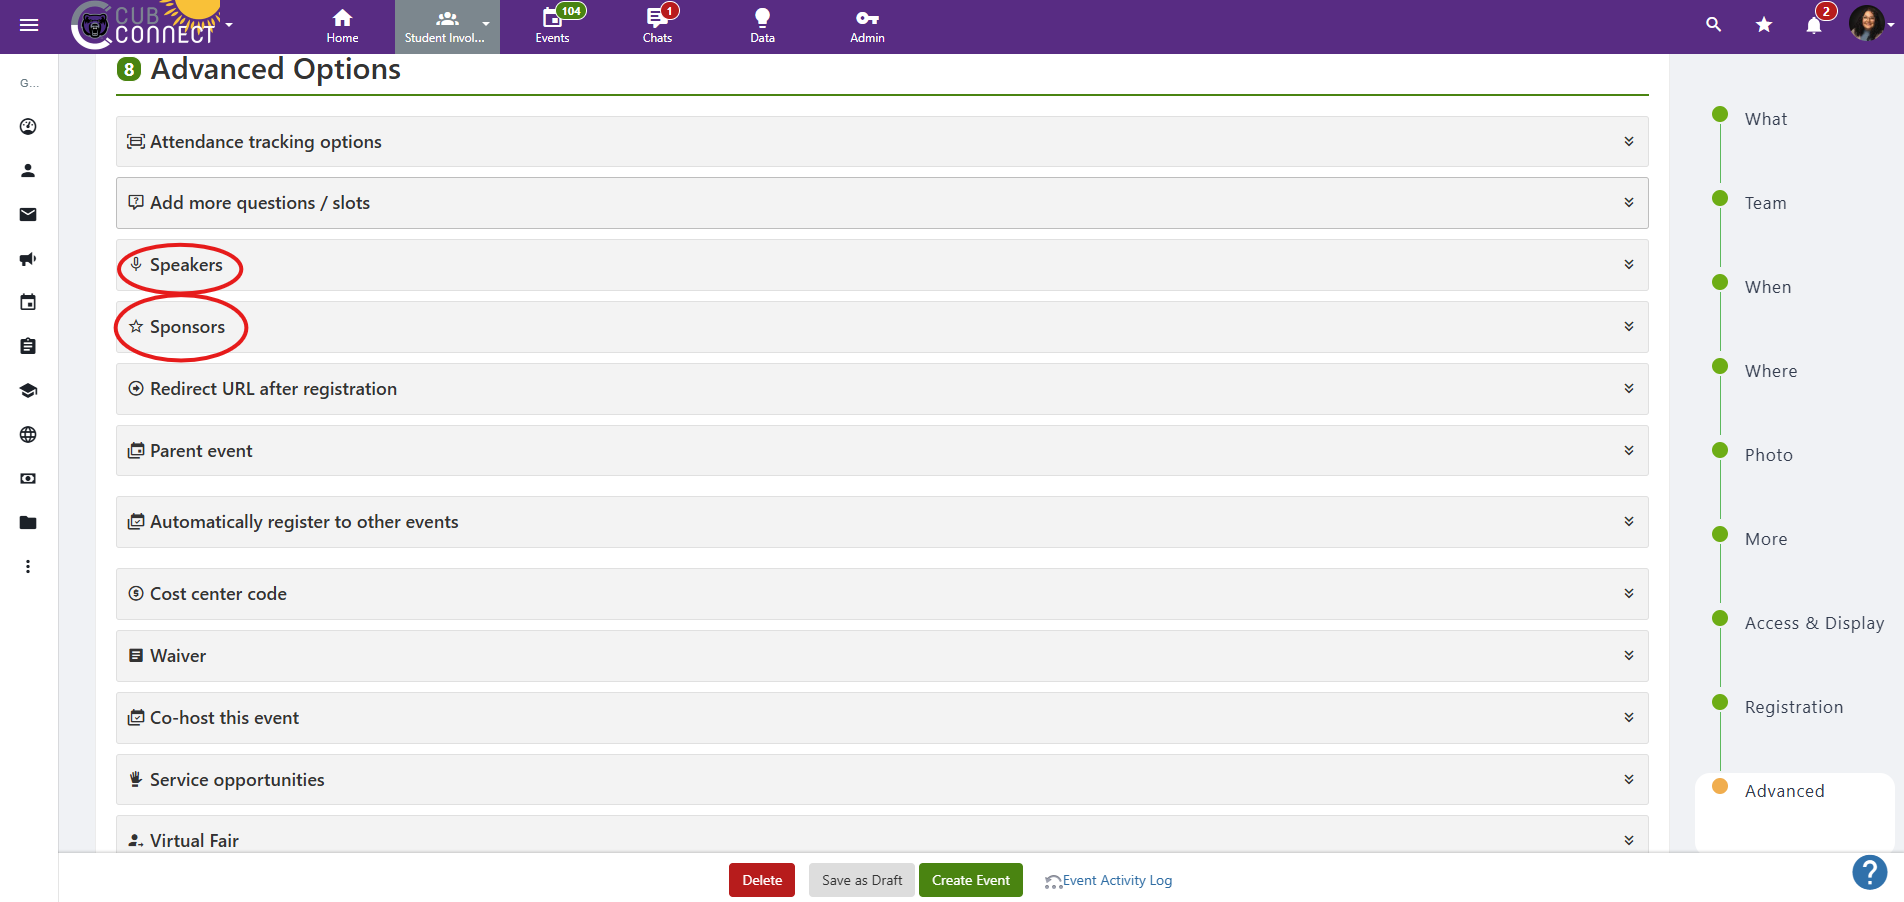
- You can add speakers or sponsors for your event.
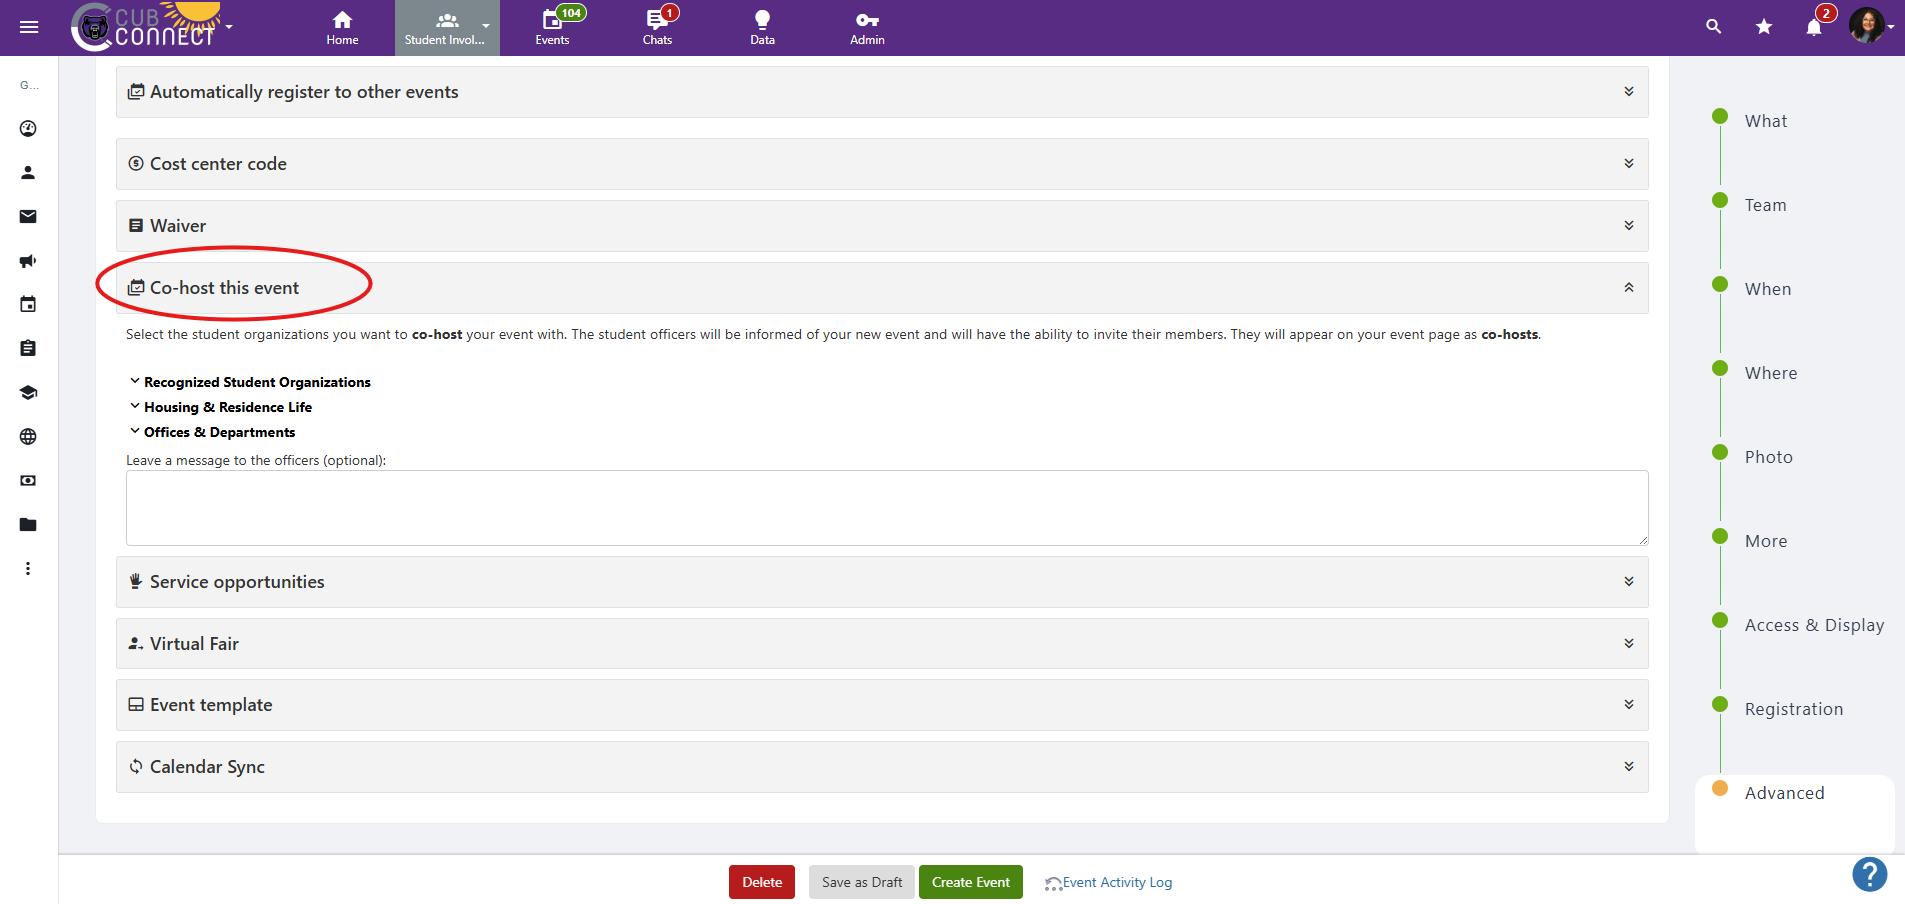
- If you have another organization co-hosting your event, you can choose your co-host here. This field accepts RSOs, Housing & Residence Life, and Offices & Departments.

- Different types of event submissions require varying levels of additional information.
- The submission form uses routing logic to ensure you provide all the necessary information.
- Please provide detailed responses to each question.
Step 8: The last page is the final review before submission.
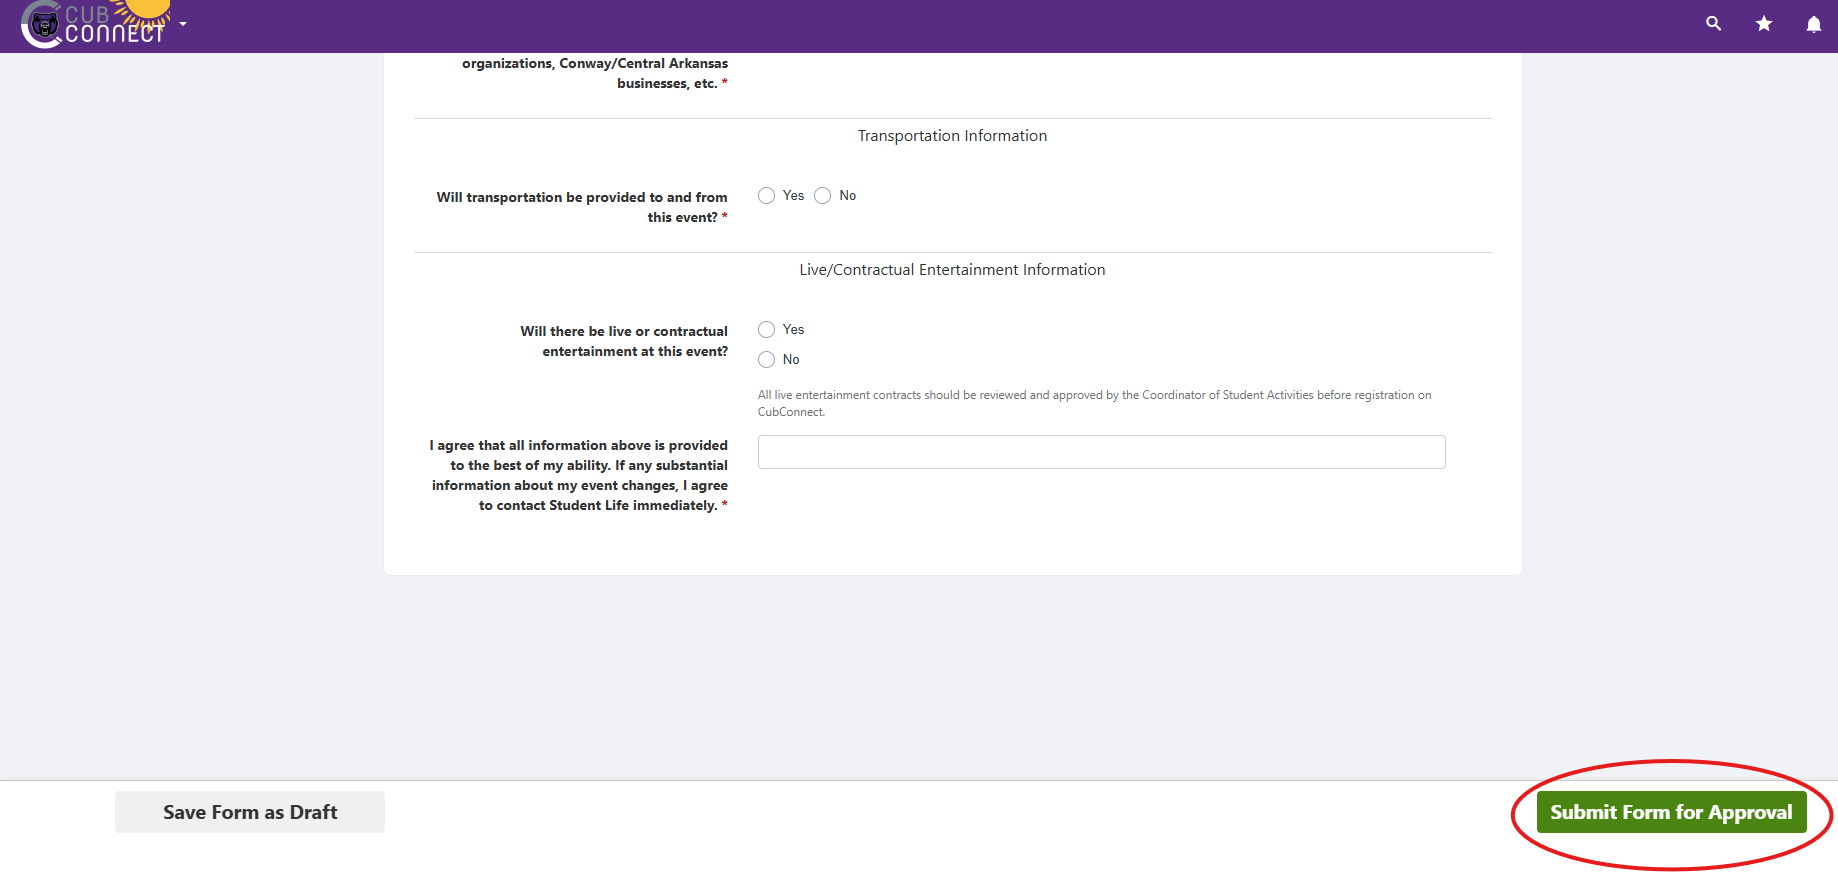
Click the green “Submit Form for Approval” button at the bottom right of the submission review page. The event request is not complete and cannot be reviewed and approved until you submit.
Editing Event Details
Regardless of whether your event has been approved or is still pending, you will use the same process to edit your event details.
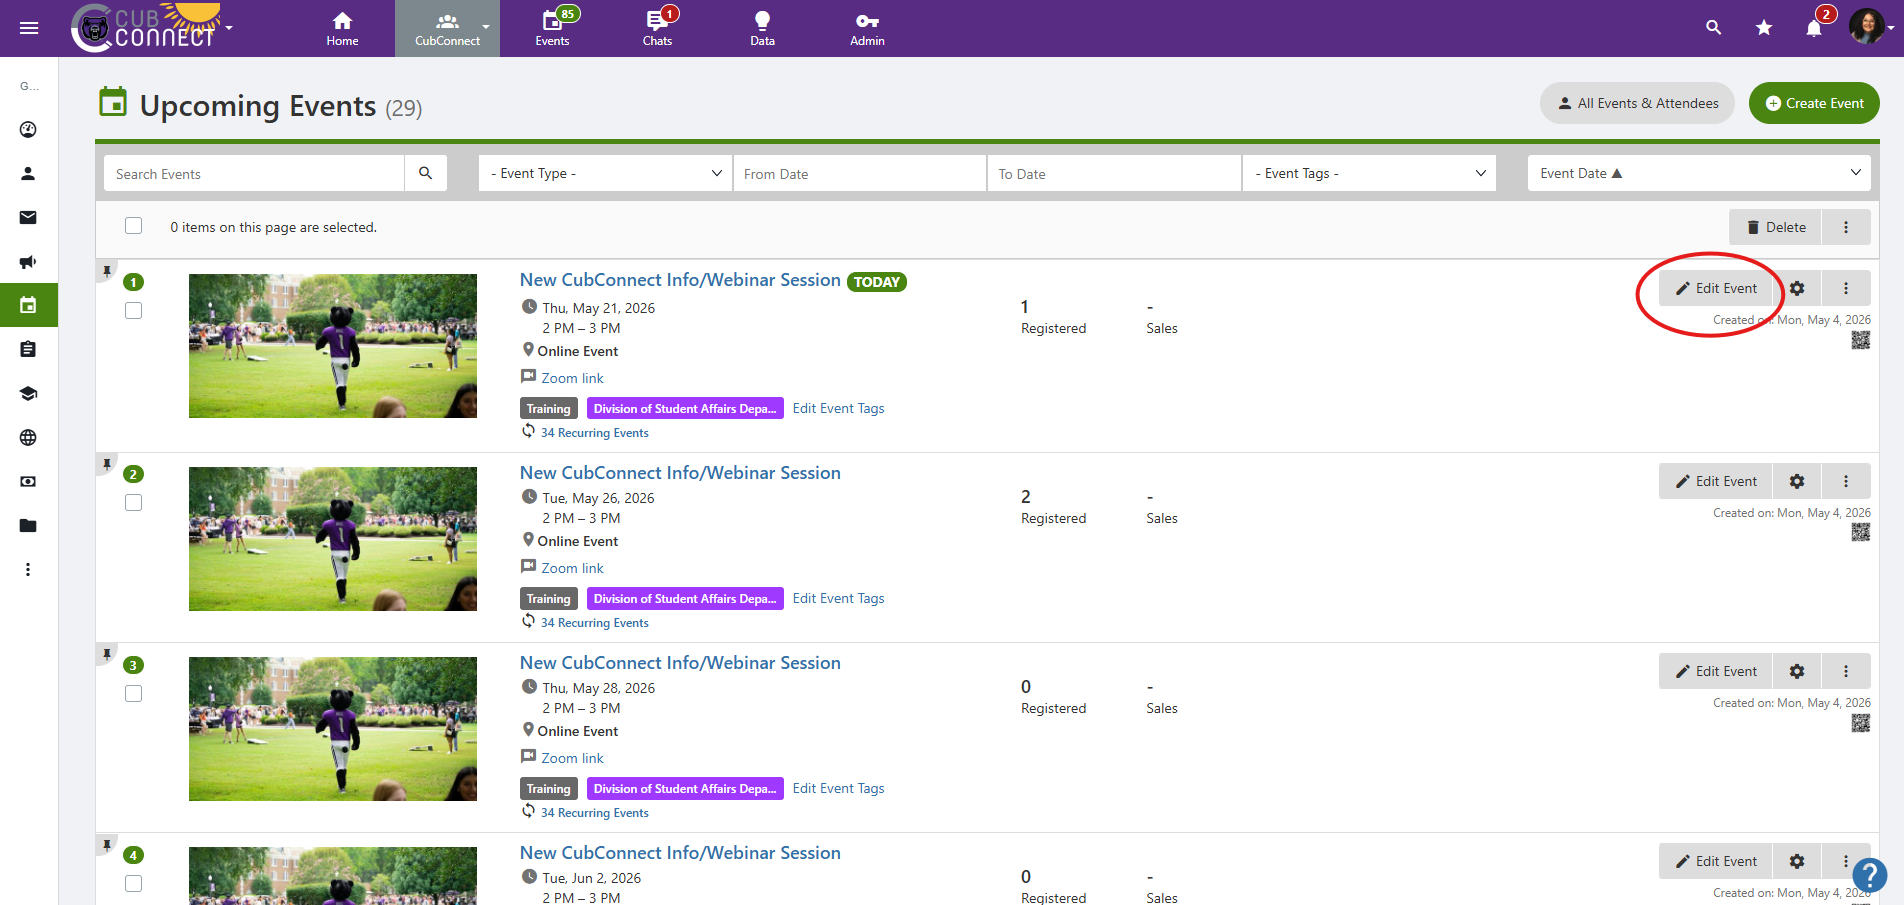
Step 1: Navigate to the event from your RSO’s homepage and choose “Edit Event”
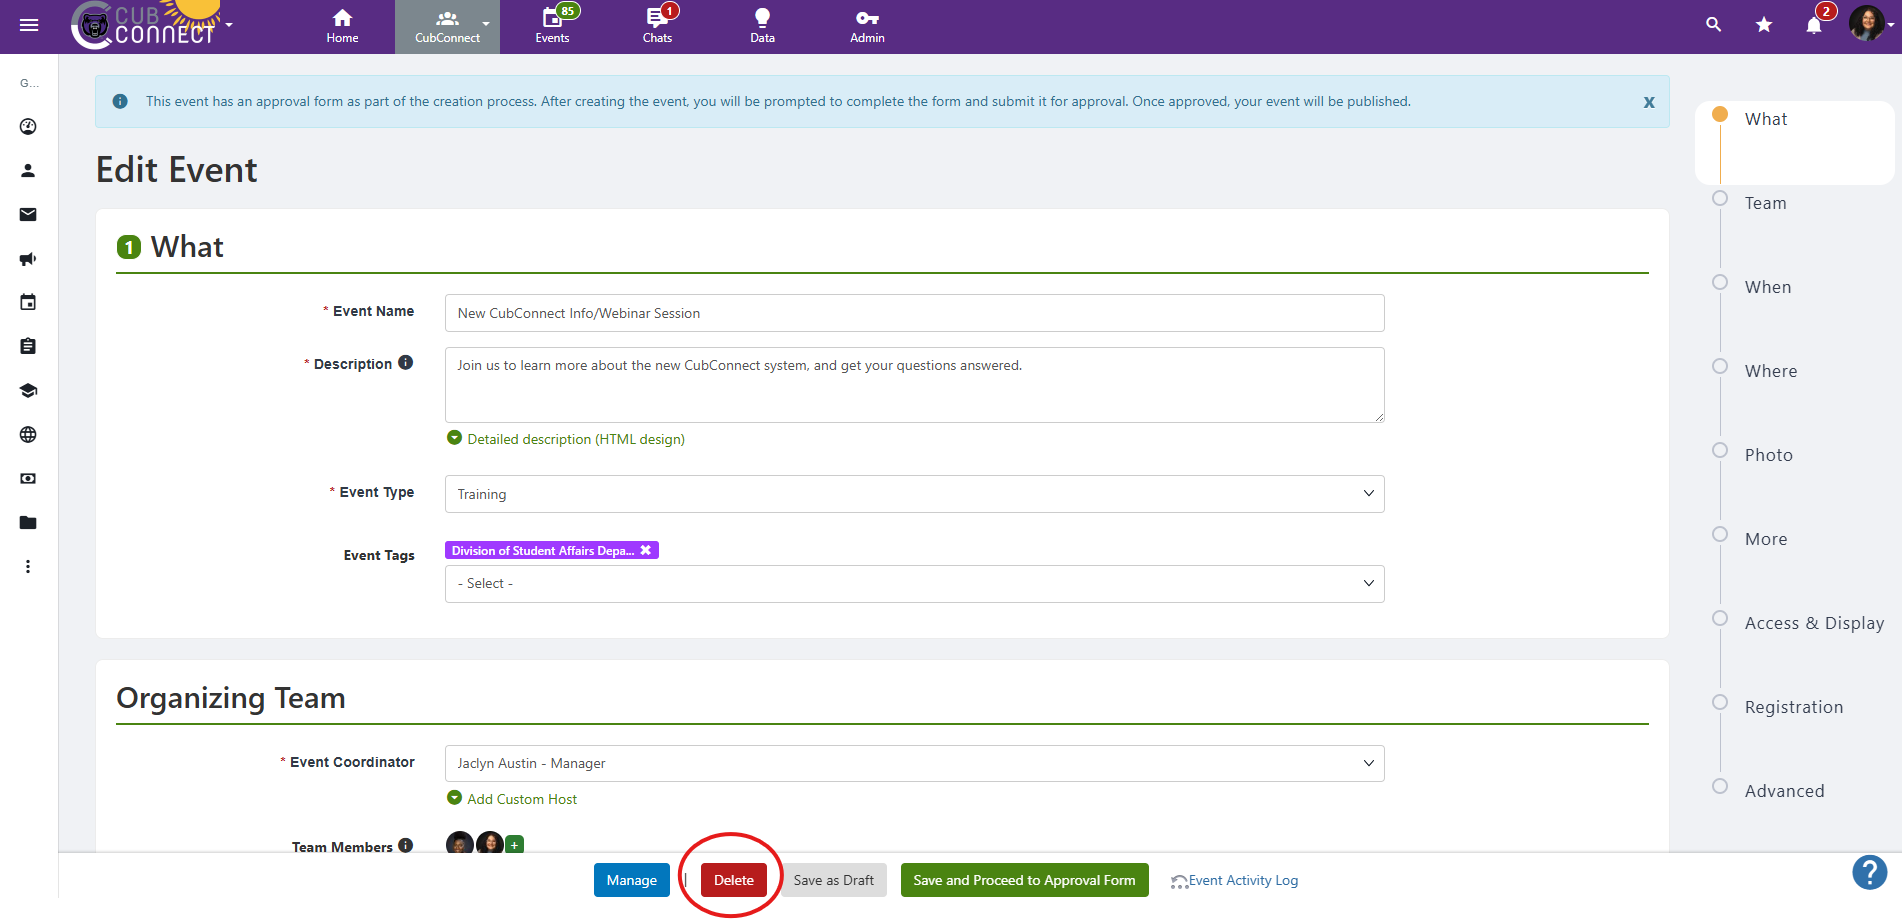
Step 2: From the Edit screen, you can change event details in your event submission. Note: if your event is going to be cancelled, use the Delete option to remove it from your RSO page.
Step 3: Update all information that has changed. Don’t forget to hit the Submit Form for Approval button! Student Involvement & Leadership may not be able to rush a change approval if the change isn’t submitted as soon as possible.